 blog
Site Preparation Checklist for Home Builders
Table of Contents
- Planning and Defining Your Site Preparation Project
- Preconstruction Site Inspection Checklist
- Residential Lot Grading and Drainage Preparation
- Site Clearing, Vegetation Removal, and Earthworks
- Utility Locating and Temporary Services Setup
- Site Preparation Timeline for Building a House
- Permits, Inspections, and Pre-Construction Approvals
- Trade-by-Trade Site Readiness and Responsibility Matrix
- Frequently Asked Questions
Last Updated: October 7, 2026
Planning and Defining Your Site Preparation Project
Before breaking ground on a residential home, proper planning is essential, and a site preparation checklist helps you avoid costly mistakes and delays. A solid site preparation checklist helps you avoid costly mistakes and delays.
Start by defining your project scope: what needs to happen on your lot before construction begins, and whether you're working with raw land or an existing property. This shapes every decision that follows.
A detailed plan prevents most site prep problems. Projects that skip this step often face unexpected costs and timeline extensions.
Your planning should cover these key areas:
- Site conditions and existing features
- Utility locations and temporary service needs
- Drainage and grading requirements
- Permits and regulatory approvals needed
- Budget and timeline expectations
- Contractor roles and responsibilities
Document everything in writing to keep all parties aligned on expectations.
Preconstruction Site Inspection Checklist
A thorough preconstruction site inspection catches problems before work begins and gathers critical information about your building site.
Walk the entire property systematically, taking photos and notes. Look for existing structures, trees, utilities, and drainage issues, and note the natural slope and how water moves across it.
Evaluating Building Site Characteristics
Your building site's characteristics determine what grading, drainage, and clearing work is needed.
Slope is critical.
Document which mature trees you want to keep before site clearing begins, large trees affect drainage and may stay for shade or aesthetics.
Check for standing water or wet areas, which indicate drainage problems and guide your stormwater and erosion control planning.
Examine soil conditions visually. Clay holds water, sandy soil drains quickly, and rocky soil requires more equipment to move during grading and excavation.
Surveying Property Boundaries and Easements
A professional survey establishes exact property boundaries before any site work begins, so you know precisely where your property ends and your neighbor's begins.
Surveys also identify easements, rights allowing others to use part of your land, often held by utility companies for power lines, water mains, or sewer lines. You cannot build on an easement, so knowing where they are prevents costly mistakes.
Get a current survey from a licensed surveyor; old surveys may be inaccurate, and the investment is small compared to fixing boundary disputes later.
Soil Testing and Geotechnical Assessment
Soil testing reveals what you're working with underground, since soil types differ in load-bearing capacity and drainage, and your foundation design depends partly on the results.
A geotechnical assessment goes deeper than visual inspection, using soil samples, compaction testing, and sometimes groundwater analysis to tell your builder and engineer what foundation depth and type will work best.
For homes in areas with clay soil or high water tables, geotechnical assessment is especially important, since these conditions affect foundation design and drainage strategy and may reveal soil stability concerns.
Residential Lot Grading and Drainage Preparation
Grading shapes your lot to support your home and manage water. Poor grading causes standing water, foundation problems, and erosion; good grading directs water away from your structure and creates a level building pad.
Drainage is part of grading: you're creating a system that controls where water goes during rain events, protecting your home and landscaping investment.
Establishing Proper Slope and Level Building Pad
The level building pad where your home sits must be flat and stable, which usually means removing soil, filling low spots, and compacting everything into a solid base.
Slope around your home matters intensely.
Slope also prevents erosion: steep slopes shed water quickly but can erode, while gentle slopes hold soil better but drain more slowly. Your grading plan balances these factors based on your site and soil type.
Compaction is critical. Loose soil settles over time and shifts your building pad, so professional grading equipment compacts soil in layers to keep your foundation level and stable for decades.
Stormwater and Erosion Control Planning
Stormwater management protects your site during and after construction. Rain events can wash away exposed soil, damage landscaping, and carry sediment into storm drains or waterways.
Erosion control measures are often required by local permits. Common approaches include silt fencing, sediment basins, and temporary swales. These capture sediment before it leaves your property.
Plan for where stormwater will go. Your site preparation plan should address how water will be managed.
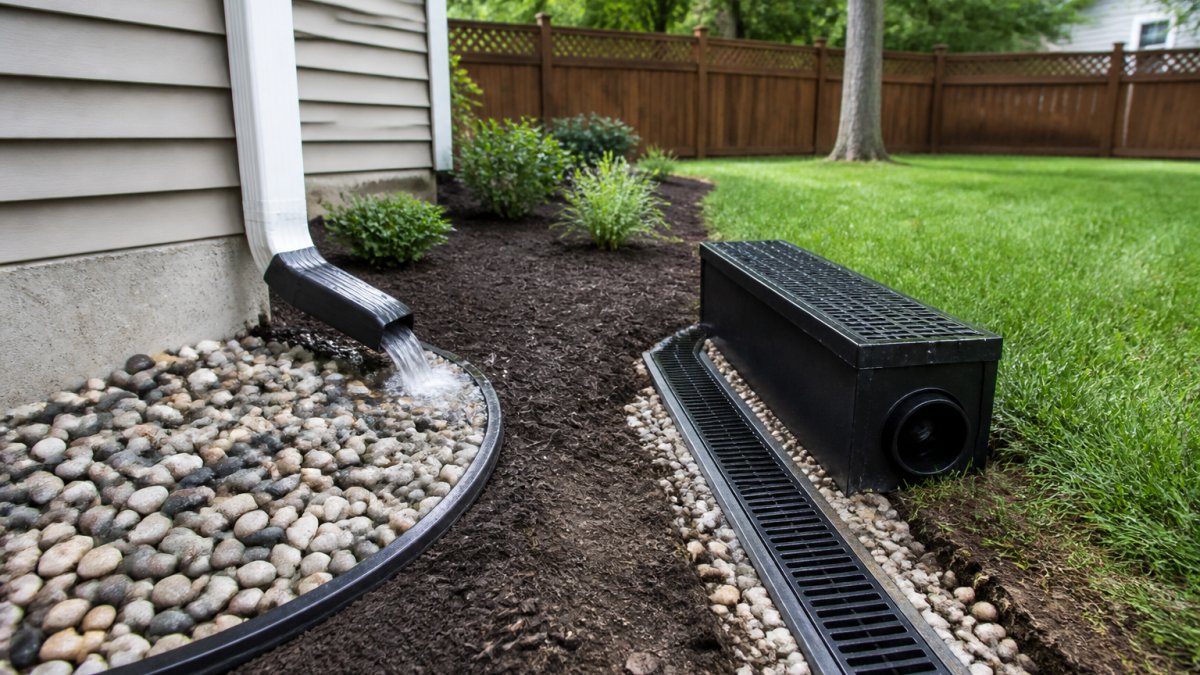
Stormwater planning also considers post-construction conditions: gutters, downspouts, and grading all work together to manage water from your roof and driveway on your finished property.
Site Clearing, Vegetation Removal, and Earthworks
Clearing and grading happen together: you cannot grade properly until obstacles are gone, so vegetation removal and grading to create proper slope and elevation occur simultaneously.
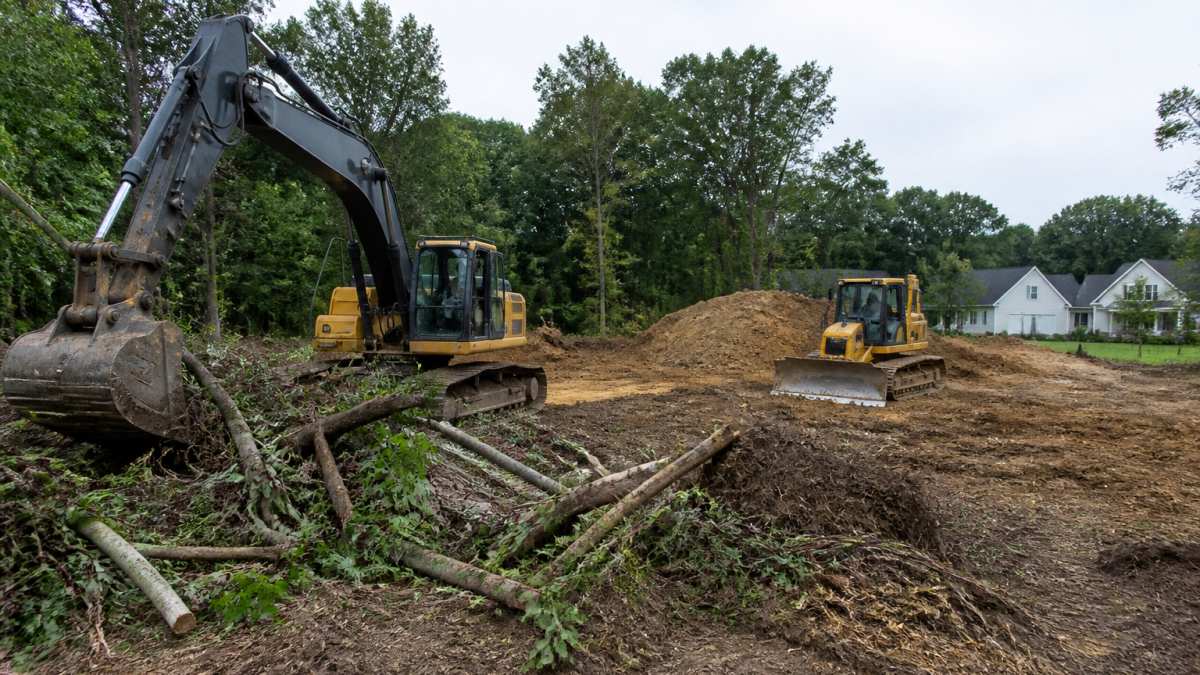
Document what you're keeping before clearing starts by marking trees and areas to preserve, once equipment starts, it's too late to save something you wanted.
Debris removal is part of site clearing. Your site preparation plan should address hauling: some materials can be chipped or mulched, while others must be hauled away.
Vegetation removal also affects drainage: trees and brush slow water movement, so once they're gone, water moves faster and erosion control becomes more important.
Utility Locating and Temporary Services Setup
Before any digging happens, utilities must be located. Underground electric, gas, water, and sewer lines could be anywhere, and hitting one causes injury, service outages, and expensive repairs.
Call 811 or your local utility locating service before any excavation (811 Before You Dig). This free service marks utility locations.
Once utilities are marked, you know where you cannot dig, which guides your excavation plan and foundation layout. Some utilities require boring under them rather than digging through.
Temporary utilities support the construction site itself: water for dust control and concrete work, power for equipment and tools, and sewer for portable toilets.
Site Preparation Timeline for Building a House
Site preparation timing depends on your conditions and local weather. In most climates, site prep takes 2-6 weeks; complex sites or those requiring extensive grading take longer.
Your timeline should account for permit approval time. Many jurisdictions require site preparation permits, and approval can add 1-4 weeks before work starts, so build this into your schedule.
Sequencing matters too: surveying, then utility locating, then clearing and grading, then foundation excavation. Each step depends on the previous one, and skipping ahead causes rework and safety problems.
Weather Contingencies and Schedule Buffers
Weather is the most common cause of site prep delays, so plan for wet conditions rather than hoping for dry ones.
Build buffer time into your schedule, a common pattern is 3-5 weather days for every week of earthwork. Unexpected conditions happen: a utility line in an unexpected location, soil different from what testing predicted, or a week of rain that turns your building pad into mud.
Track local rainfall patterns before setting dates. If your region has a wet season, schedule clearing and grading outside it when possible; otherwise plan for shorter work windows and more frequent compaction testing.
Wet-Weather Access and Soil Stabilization
Mud is expensive. Trucks and equipment that cannot reach the site cost you the same as if they were working.
Prepare for wet-weather access before the first rain:
- Install a stabilized construction entrance using crushed stone or geotextile fabric to keep mud off public roads.
- Designate a single access route and keep it crowned or ditched so water drains off.
- Stockpile gravel or wood chips near soft spots for quick stabilization.
- Limit traffic on exposed subgrade. Every pass compacts and rutts wet soil.
- Use geotextile separation fabric under fill areas that are prone to pumping.
Clay-heavy soil holds water and loses strength quickly, while sandy soil drains faster but erodes more easily. Adjust your stabilization approach to your soil type.
Material Protection and Site Housekeeping
Materials delivered before they are needed can become a liability. Protect what you stage on site:
- Store lumber, forms, and rebar off the ground on blocking or pallets.
- Cover cement and other moisture-sensitive materials with tarps weighted at the edges.
- Keep excavated topsoil in a separate stockpile for later landscaping use.
- Place silt fencing and inlet protection before any soil is disturbed, not after.
- Schedule deliveries so materials arrive close to when they will be installed.
A daily site log helps here: record weather, work completed, inspections passed, and issues encountered. This protects you and your builder if disputes arise later about site prep.
Permits, Inspections, and Pre-Construction Approvals
Most jurisdictions require permits before site preparation begins to ensure your work meets building codes and protects public safety.
Your permit application typically includes a site plan showing proposed grading, drainage, and utilities, demonstrating that your site preparation approach is safe and legal.
Some areas require stormwater permits addressing how you'll manage erosion and runoff during construction, as stormwater management is increasingly regulated for water quality.
Work with your builder and local building department to understand what permits and inspections your project requires. Getting this right from the start prevents work stoppages and fines.
Trade-by-Trade Site Readiness and Responsibility Matrix
Clear responsibility prevents confusion and delays. Every trade needs to know what site conditions to expect and what they must prepare. The most useful version is a pre-mobilization checklist each trade verifies before sending crews and equipment.
Pre-Mobilization Verification by Trade
Grading contractor. Verify that the rough grade plan is approved, drainage swales and outlet locations are marked, compaction testing is scheduled, a benchmark or elevation reference is defined, and dust control water is available.
Utility contractors. Verify that existing utilities are located and marked, required disconnects are scheduled, temporary power and water connections are permitted, trench safety equipment is on site, and inspection timing is coordinated with the utility provider.
Temporary Site Logistics and Safety
Operational details decide whether a site runs smoothly or stalls. Set these up before the first trade arrives:
- Temporary fencing around the active work area and any open excavation.
- Clear signage for site entry, speed limits, and hazard warnings.
- A designated equipment staging and parking area away from the building pad.
- Portable sanitation facilities sized to the crew count.
- A marked emergency access route that stays clear at all times.
- A first-aid station and posted emergency contact information.
- A single point of contact for utility emergencies.
Responsibility Matrix and Sign-Offs
Create a written responsibility matrix. List each major task. Specify which contractor handles it. Get signatures confirming everyone understands their role. This prevents disputes and ensures nothing falls through the cracks.
Document site conditions at the start: photograph the building site before work begins and note existing problems. This baseline protects everyone if questions arise later about the site's condition.
Frequently Asked Questions
What should be included in a site preparation checklist for home builders?
A comprehensive site preparation checklist covers planning and project definition, preconstruction site inspection, soil testing and geotechnical assessment, property surveys and boundary verification, utility locating, grading and drainage design, vegetation removal and land clearing, erosion control measures, permit acquisition, temporary site logistics, and a responsibility matrix for all trades. Each phase requires documented sign-offs to ensure quality and compliance before construction begins.
How long does residential site preparation usually take?
Site preparation timeline depends on lot size, soil conditions, drainage requirements, and permit approval speed. Most residential projects require 2-6 weeks from initial inspection through final grading and approval. Simple lots with good drainage may take 2-3 weeks, while complex sites requiring soil remediation, extensive grading, or stormwater systems can extend 6-8 weeks. Weather and permit delays can add additional time.
When should grading and drainage work be completed before building a house?
Grading and drainage work must be completed after site clearing and vegetation removal but before foundation excavation. This allows the contractor to establish proper slope, create the level building pad, and install erosion control measures. Drainage systems should be fully operational before concrete footings are poured. Inspections confirming proper grading and drainage typically occur 1-2 weeks before foundation work begins.
What permits and inspections may be needed before residential site work begins?
Required permits typically include a grading permit, stormwater management permit, and land clearing permit. Some jurisdictions require erosion and sediment control plans before work starts. Inspections occur at multiple phases: initial site inspection, post-clearing, post-grading, post-drainage installation, and pre-foundation. Check with your local building department for specific requirements, as regulations vary by location.