 blog
7 Ways to Prepare Your Yard for New Sod Installation
Table of Contents
- 1. Clear the Site and Remove Debris
- 2. Remove Existing Grass and Weeds
- 3. How to Prepare Soil for Sod Installation
- 4. How to Level a Yard for Sod Installation
- 5. Drainage Preparation for a New Lawn
- 6. Sod Installation Preparation Checklist
- 7. Protect Utilities and Landscape Features
- Frequently Asked Questions
Last Updated: October 10, 2026
1. Clear the Site and Remove Debris
The first step to prepare yard for sod is removing everything that's in the way. Debris, rocks, branches, and old materials prevent the soil from settling properly and block new sod from making good contact with the ground below.
Walk your entire yard and pick up anything loose. This includes fallen branches, rocks, concrete chunks, old wood, and construction scraps. A rake works well for lighter debris. For heavier items, a wheelbarrow saves your back.
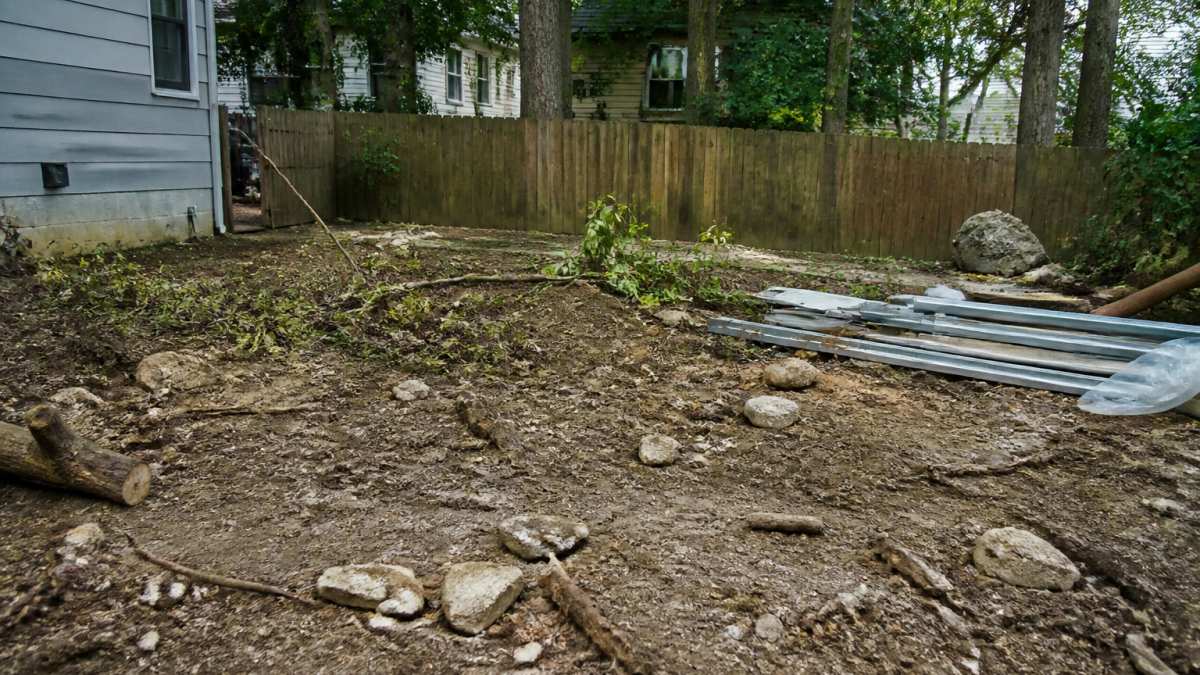
Pay special attention to low spots where water collects debris. These areas often hide larger obstacles. Clear them thoroughly.
2. Remove Existing Grass and Weeds
Once debris is cleared, you need to eliminate existing grass, weeds, and unwanted vegetation. Sod won't thrive if old grass competes for nutrients and water underneath.
You have three main options:
- Sod cutter rental: Removes grass and thatch in one pass. Best for large yards.
- Manual removal: Dig out grass with a shovel. Works for small areas.
- Chemical removal: Herbicide kills existing grass. Takes 1-2 weeks, then remove dead material.
Most homeowners find that killing existing grass before removal saves time and effort. Apply a broad-spectrum herbicide, wait for the grass to die completely, then rake it away. This approach prevents regrowth under your new sod.
3. How to Prepare Soil for Sod Installation
Healthy soil is the foundation for successful sod. Before you prepare yard for sod, test what you're working with.
Order a soil test kit from your local cooperative extension office. The test reveals soil pH, nutrient levels, and texture. This information guides your amendment decisions.
Most lawns need slightly acidic soil. If your test shows the soil is too acidic or too alkaline, add lime or sulfur accordingly. Follow the test results exactly, guessing wastes money and creates problems later.
Add topsoil or soil amendments based on your test results. Work these into the top 3-4 inches of existing soil. Good amendments include compost, aged manure, or peat moss. These improve drainage, water retention, and nutrient content.
Loosen the soil with a rototiller. This breaks up compacted earth and lets roots penetrate deeper. Till to a depth of 4-6 inches.
4. How to Level a Yard for Sod Installation
Uneven ground causes drainage problems and creates bare spots where sod won't root properly. Leveling ensures water drains away from your home and sod makes full contact with soil.
Establish a rough grade first. This is the overall slope of your yard. Ideally, the ground should slope away from your house at least 1 inch per 4 feet of distance. This prevents water from pooling near your foundation.
Use a long straightedge and level to identify high and low spots. Fill low areas with topsoil. Remove soil from high spots. Work systematically across the entire yard.
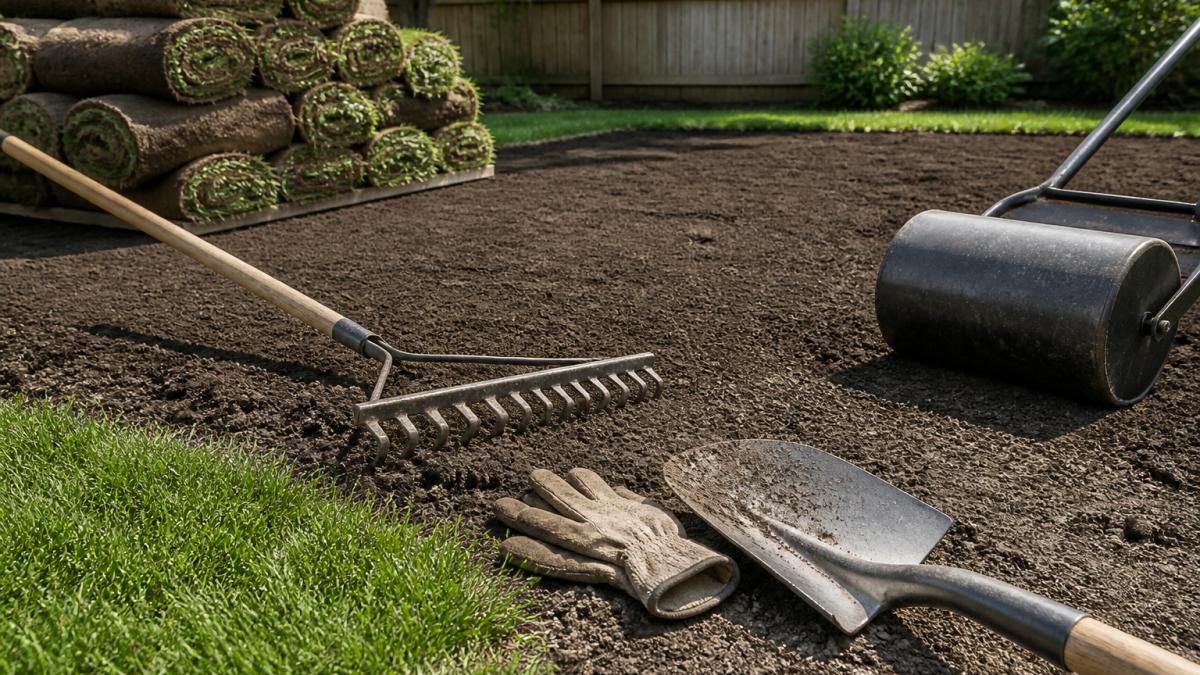
After rough grading, finish-grade the surface. This means smoothing it to remove lumps and creating a firm, even base. Rake out footprints and tire tracks. The surface should be smooth but not compacted.
5. Drainage Preparation for a New Lawn
Poor drainage kills new sod faster than almost anything else. Standing water suffocates roots and causes fungal disease. Correcting drainage problems before installation prevents costly failures.
Identify problem areas where water pools after rain. These spots need attention. You have several solutions:
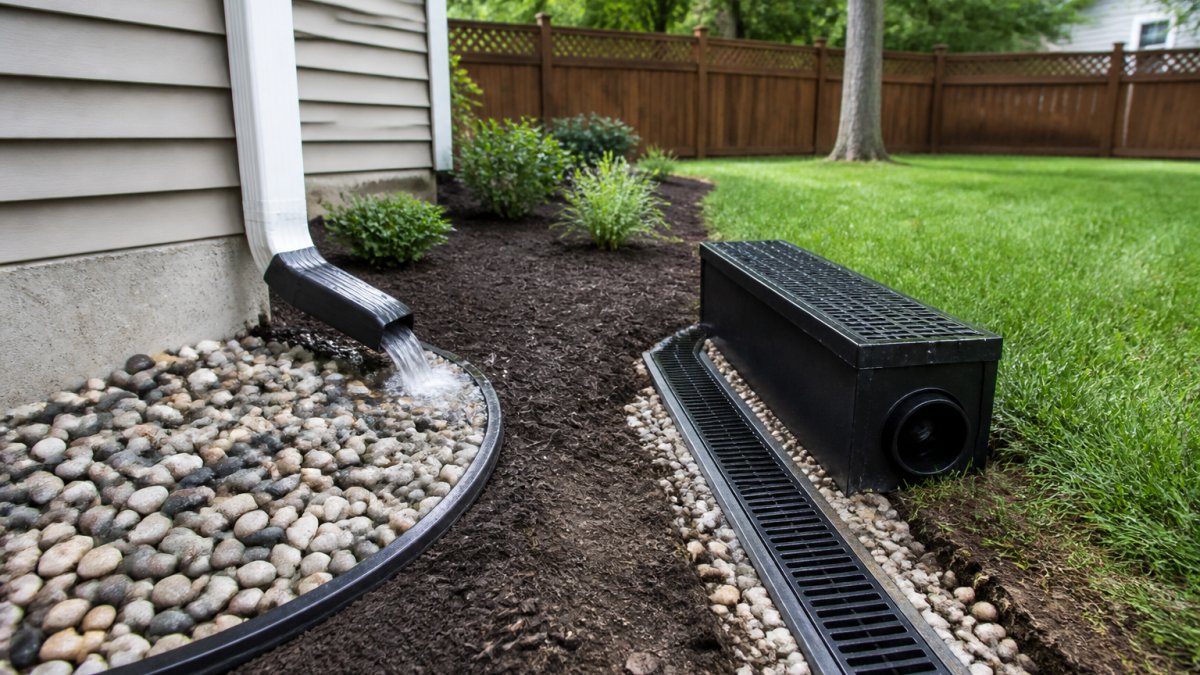
- French drains: Underground pipes collect water and direct it away from wet spots.
- Grading adjustment: Reshape the ground to redirect water flow.
- Raised beds: For severe drainage problems, raise the planting area above the water table.
- Drainage fabric: Lay permeable fabric over clay to improve water movement.
For most residential yards, adjusting the grade solves the problem. Ensure water flows away from low spots and toward storm drains or natural drainage areas.
Check sprinkler system placement before installation. Adjust sprinkler heads so water reaches all areas evenly. Poor coverage creates dry spots where sod won't establish.
6. Sod Installation Preparation Checklist
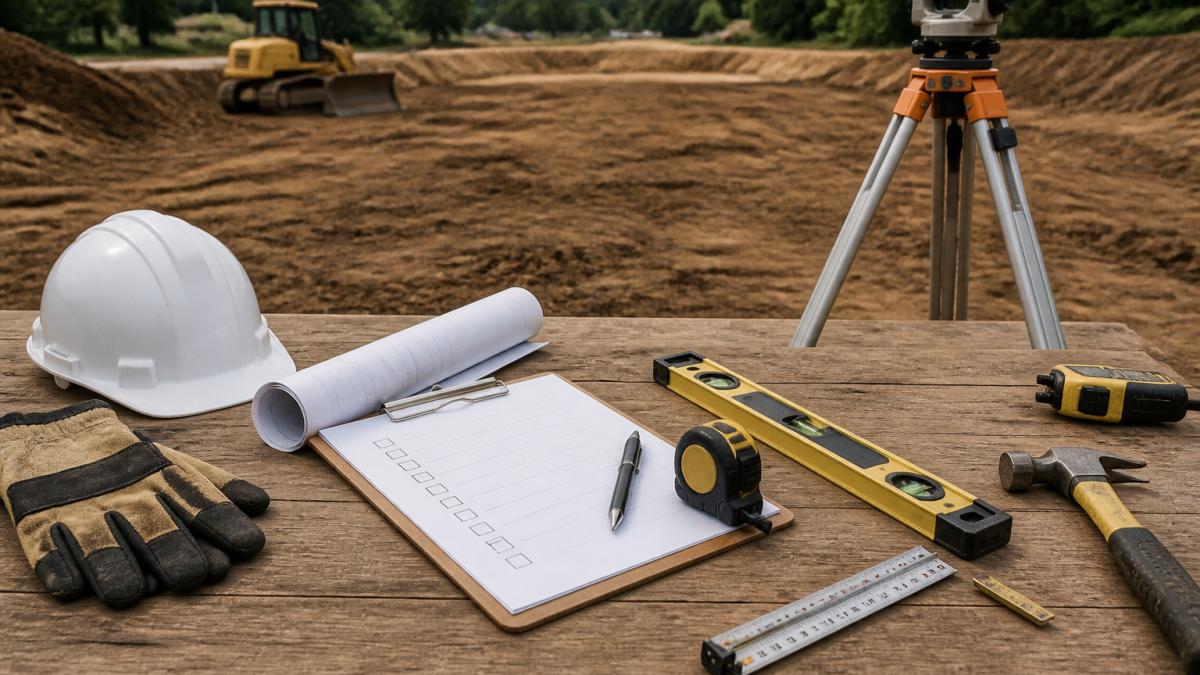
Use this checklist to verify your yard is ready before sod arrives. Missing steps now cause problems later.
- All debris removed from the installation area
- Existing grass and weeds completely eliminated
- Soil tested and amendments applied based on results
- Soil tilled to 4-6 inches deep
- Rough grade established with proper slope away from house
- Finish grade completed and surface smoothed
- Low spots identified and corrected for drainage
- Sprinkler system adjusted and tested
- Utilities marked and protected
- Yard compacted lightly so sod doesn't sink after installation
- Installation date confirmed with your sod supplier
Each step matters. The time you invest now determines whether your new lawn thrives or struggles.
7. Protect Utilities and Landscape Features
Before any digging or grading, locate underground utilities. Hitting a water line, gas line, or electrical cable creates danger and expensive repairs.
Call your local utility locating service at least 48 hours before work begins. They mark all underground lines with paint or flags. Respect these markings throughout your preparation work.
Identify sensitive areas in your yard:
- Septic systems: Never disturb the drain field or tank area.
- Well locations: Keep grading work away from well heads.
- Existing landscaping: Mark trees, shrubs, and garden beds to protect them.
- Irrigation systems: Locate and protect sprinkler lines and heads.
If you have landscape features you want to keep, trees, shrubs, flower beds, protect them during preparation. Rope off these areas to prevent equipment damage.
For yards with significant features or utilities, consider hiring professionals. OCAS Residential handles site preparation with precision grading that protects what matters while preparing your yard for sod correctly.
Preparing your yard properly determines whether new sod thrives or fails. The seven steps above address clearing, soil health, grading, drainage, and protection, everything needed for successful sod installation. OCAS Residential offers comprehensive site preparation and land leveling services that handle all these elements with professional precision, ensuring your yard is perfectly prepared for new sod. Contact us for a free estimate and let our team handle the preparation work, so your new lawn gets the foundation it needs to flourish.
Frequently Asked Questions
Should you remove old grass before installing sod?
Yes, you must remove existing grass, weeds, and vegetation before sod installation. Leaving old grass underneath creates an air gap that prevents the new sod from rooting properly into the soil. Use a sod cutter or manual removal methods to clear the installation area completely. This step ensures strong root establishment and prevents dead spots in your new lawn.
How deep should you till soil before laying sod?
Till the soil to a depth of 4 to 6 inches to prepare the yard for sod. This loosens compacted soil, improves drainage, and allows sod roots to establish quickly. After tilling, break up large clumps and remove rocks and debris. If soil testing reveals poor fertility or pH issues, this is when to incorporate soil amendments and fertilizer before final grading.
Do you need to add topsoil before laying sod?
Adding topsoil or soil amendments depends on your soil test results. If native soil is compacted, low in fertility, or has poor pH balance, topsoil improves sod establishment. Spread 1 to 2 inches of quality topsoil over the tilled area and work it into the top few inches. This investment helps new sod root faster and produces a healthier lawn, making it worth the cost for most residential installations.
How can you fix drainage issues before installing sod?
Identify low spots where water pools and adjust the grade to direct water away from structures and problem areas. Proper grading with a slope of 1 to 2 percent ensures water flows toward drainage swales or storm drains. If standing water persists, consider installing drainage tile or creating a French drain. Addressing drainage before sod installation prevents future waterlogging and protects your new lawn investment.