 how-to
Grading Solutions for Uneven Yards: Fix Drainage Fast
Table of Contents
- Signs Your Uneven Yard Needs Grading Solutions
- What You'll Need Before You Start Grading
- Step 1: Map Your Yard's Slope and Water Flow
- Step 2: How to Fix Backyard Muddy Spots With Regrading
- Step 3: Drainage Solutions for Uneven Yards That Last
- Step 4: Compaction, Topsoil, and Final Grade
- Residential Land Grading Cost: What Drives the Price
- Common Mistakes to Avoid With Grading Solutions for Uneven Yards
- Frequently Asked Questions
Last Updated: September 30, 2026
Signs Your Uneven Yard Needs Grading Solutions
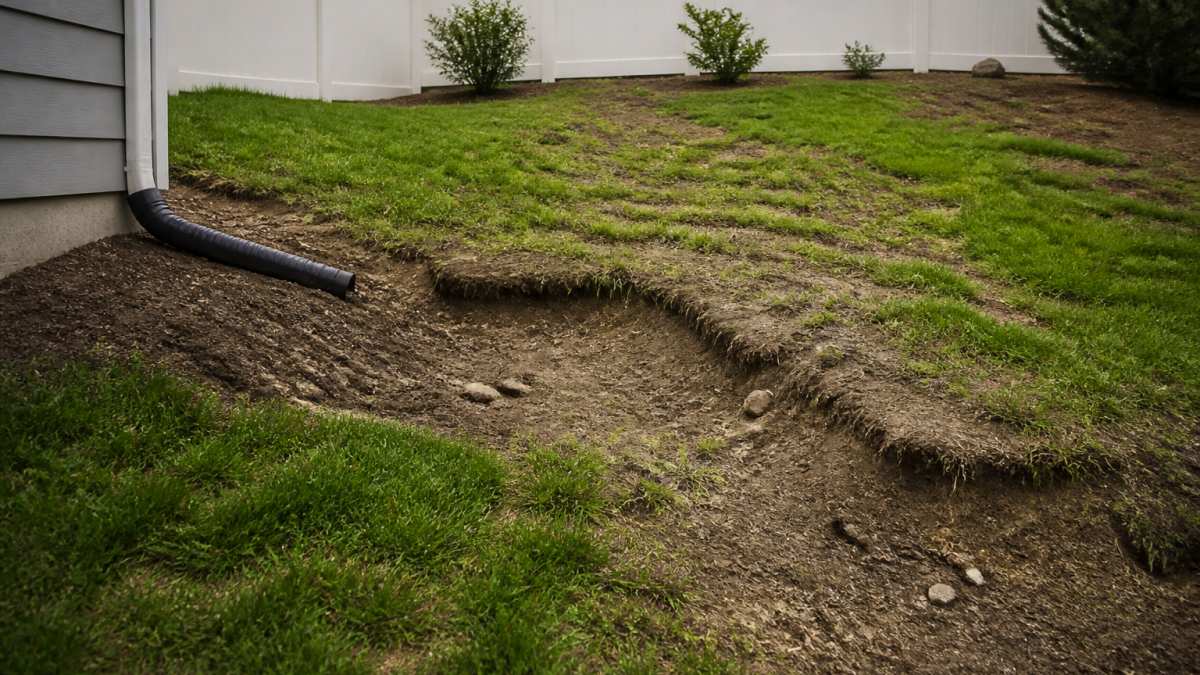
Grading solutions for uneven yards start with spotting the problem early. Standing water after rain, soggy patches that never dry, and soil pulled away from your foundation are the clearest signals.
Watch for these warning signs:
- Pooling water that lingers more than 24 hours after rain
- Soggy patches where grass refuses to grow
- Cracks in your driveway, patio, or walkway
- Soil erosion lines running toward the foundation
- A foundation that stays damp weeks after storms
What You'll Need Before You Start Grading
Good site preparation prevents most grading mistakes. Gather your tools and check local rules before you dig.
Tools and materials:
- Shovel, rake, and wheelbarrow
- String line and stakes for marking grade
- A long level or laser level
- Manual hand tamper or rental plate compactor
- Topsoil, fill dirt, and sand
- Drainage pipe and gravel if you're adding a French drain
Step 1: Map Your Yard's Slope and Water Flow
You cannot fix a slope you have not measured. Mapping water flow is the foundation of every grading project:
- Wait for a heavy rain and walk your yard. Note where water pools and which direction it runs.
- Drive stakes at the high and low points of your yard.
- Run a string line between stakes and check it with a level.
- Measure the drop. A healthy slope falls about 6 inches over 10 feet, moving away from your house.
- Mark every low spot and erosion line on a simple sketch.
Step 2: How to Fix Backyard Muddy Spots With Regrading
Fixing backyard muddy spots starts with finding the source, not just filling the hole. Water pooling in one corner usually comes from a slope problem elsewhere.
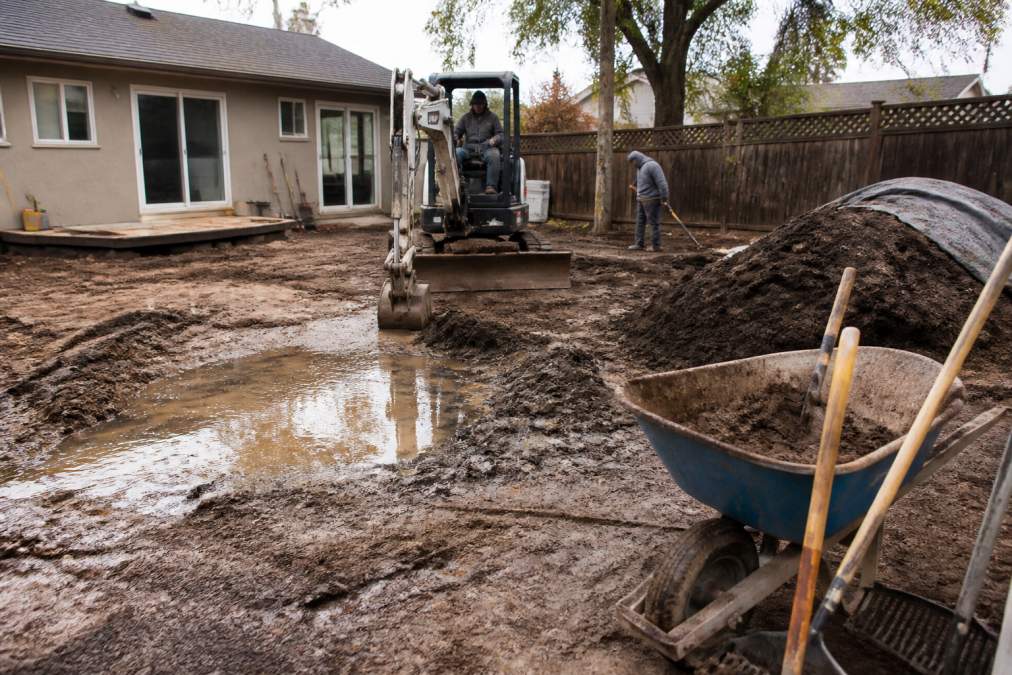
Follow this process:
- Cut the high side. Remove soil from the highest point and move it toward the low spot.
- Build up the low area in layers. Add 2 to 3 inches of fill dirt at a time.
- Compact each layer. Loose fill settles unevenly and recreates the problem.
- Blend the transition. The goal is a smooth, steady slope, not a patch.
- Recheck with your string line. Confirm water still flows away from the house.
Step 3: Drainage Solutions for Uneven Yards That Last
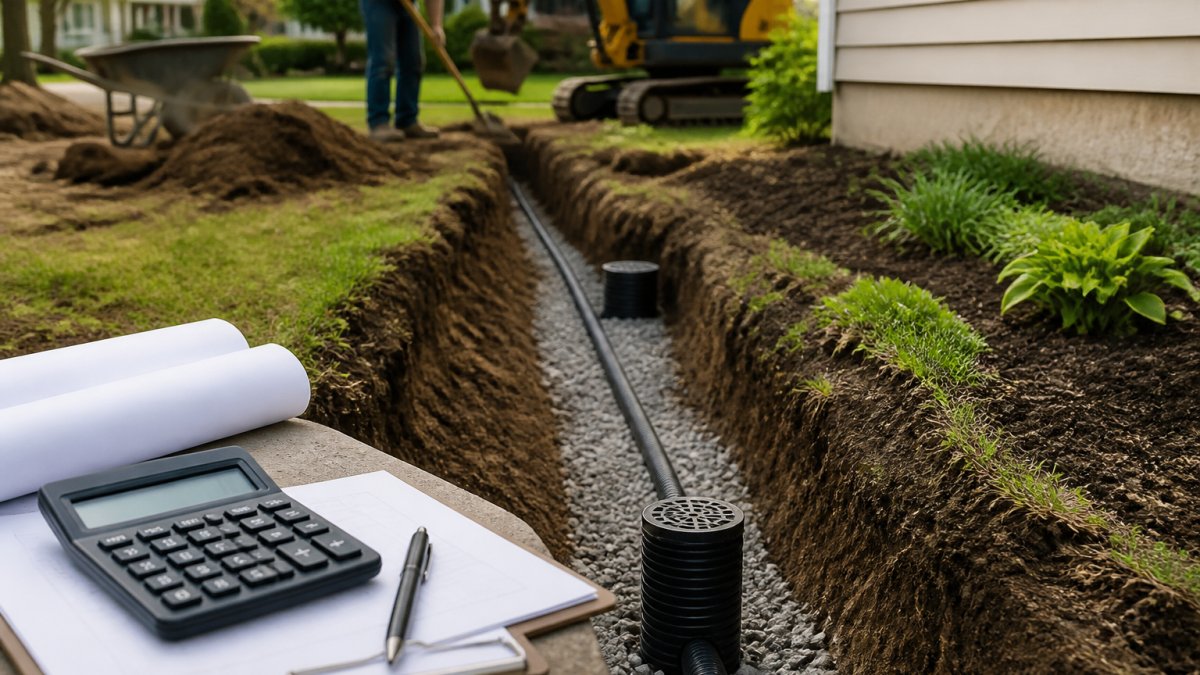
Drainage solutions for uneven yards work best when surface grading and underground systems run together. Grading moves water across the surface; drainage systems move it away for good. Whether a system lasts decades or clogs in two seasons comes down to sizing, slope, and outlet.
French Drains, Swales, and Catch Basins Compared
Each option solves a different problem. Pick based on where the water comes from and where it needs to go.
| Solution | Best For | How It Works | Typical Specs | Watch Out For |
|---|---|---|---|---|
| French drain | Chronic soggy spots, subsurface water | Perforated pipe in a gravel trench wrapped in filter fabric | 4 in. perforated PVC or corrugated pipe, 18-24 in. deep, 12 in. wide trench, 1% slope minimum | Needs a daylight outlet or dry well; silt clogs fabric if not wrapped |
| Swale | Redirecting surface runoff | Shallow, planted channel that carries sheet flow | 2-3 ft. wide bottom, 6-12 in. deep, 2% longitudinal slope | Looks like a ditch if too deep; needs grass or riprap lining |
| Catch basin | Low points that flood | Buried box that collects water and routes it to pipe | 9x9 in. to 12x12 in. basin, solid 4 in. outlet pipe | Needs annual cleaning; leaves and grit fill it fast |
| Dry well | Small, contained areas | Underground gravel pit that stores and infiltrates water | 3-4 ft. cube of #2 or #3 crushed stone, filter fabric lined | Fills fast in heavy rain; only works in sandy or loamy soil |
| Channel drain | Driveways, patios, garage aprons | Linear grate set in concrete or gravel trench | 3-5 in. wide grate, 1% slope to outlet | Debris covers grate; needs a solid outlet pipe |
Where Does the Water Actually Go?
Every drainage system needs an outlet, the step most DIY installs skip, and why so many French drains fail. Options:
- Daylight to a lower point on your property, the simplest and most reliable. The pipe ends at a pop-up emitter or a riprap splash pad where water can sheet away.
- Storm sewer connection, allowed in some jurisdictions, prohibited in others. Check with your public works department before tying in.
- Dry well or infiltration bed, works only in well-draining soil.
- Curb outlet, rarely permitted for residential lots because it pushes water onto the street and can be considered a nuisance discharge.
Sizing the System to Your Yard
A common pattern in failed DIY drainage is undersizing. A 4-inch round pipe handles roughly 1,000-1,500 square feet of roof or surface area in a moderate rain, and less in a downpour. If your drainage area is larger, step up to 6-inch pipe or add a second run. For a French drain, set the trench below your frost line in cold climates and below the soggy soil, 18-24 inches deep is the working range.
Soil Composition: The Variable Most Guides Ignore
Before you buy pipe or gravel, know what is under your feet, soil type dictates which drainage solution works.
- Clay-heavy soil drains slowly and holds water. A dry well will not work. You need a French drain with a daylight outlet, or a surface swale that moves water off the property. Amend clay with organic matter before you plant anything over the trench.
- Sandy soil drains fast but erodes easily. Swales need riprap or a turf liner to hold their shape. French drains work well, but filter fabric is essential to keep sand from filling the gravel.
- Loam is the middle ground and the easiest to work with. Most systems perform as designed.
Find your local cooperative extension office for soil testing
Ditch and Swale Maintenance
A drainage system is only as good as its maintenance. Once a year, before the rainy season:
- Clear leaves, grit, and roots from catch basins and channel drains.
- Walk the swale and look for low spots or eroded banks. Top them off and re-seed.
- Flush the French drain outlet and confirm water still flows. If it does not, the pipe or gravel is clogged.
- Check the pop-up emitter or splash pad. If water is pooling there, the outlet is blocked.
Step 4: Compaction, Topsoil, and Final Grade
The final grade is what you see, but compaction is what makes it hold.
Work through these steps:
- Compact in lifts. Never dump more than 3 inches of fill before tamping it down.
- Add topsoil last. Spread 2 to 4 inches of topsoil over the compacted fill.
- Rough up the surface. A light rake gives seed and sod something to grip.
- Check the slope one more time. Aim for that 6-inch drop per 10 feet, away from the house.
- Water and let it settle. Watch for new low spots and top them off.
Residential Land Grading Cost: What Drives the Price
Residential land grading cost depends on yard size, how much soil moves, and whether drainage systems are part of the job. There is no flat rate, but you can build a realistic estimate by breaking the project into parts.
How Grading Is Priced
Most contractors price grading one of three ways:
- By the square foot, common for simple lawn leveling and light regrading. Small jobs often land in the low single digits per square foot; larger jobs bring the per-foot rate down.
- By the cubic yard of soil moved, common when fill or excavation dominates the job. This is the fairest method when the scope is mostly dirt.
- By the hour plus materials, common for small, uncertain jobs or when rock or roots are a wildcard.
Ask which method the estimate uses. A per-square-foot quote on a job that is really about hauling 40 cubic yards of clay is a red flag.
The Main Cost Drivers
- Yard size and slope. Bigger, steeper yards mean more excavation and more soil. A gentle 2% slope is a different job than a 15% hillside.
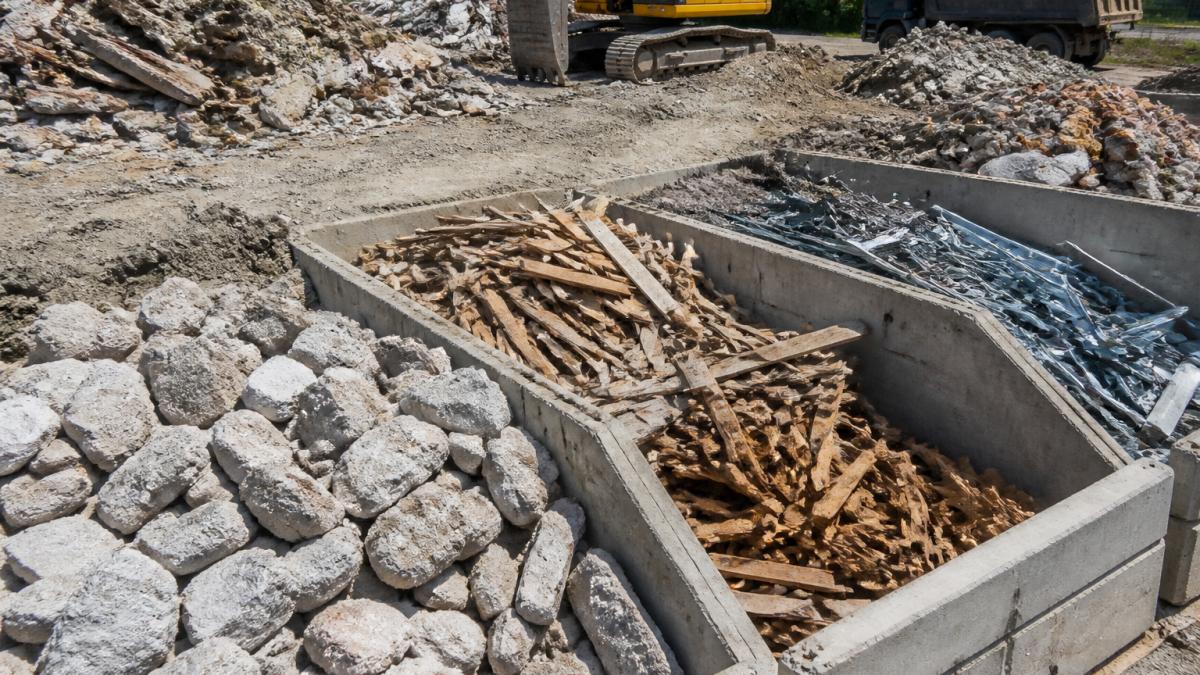
- Soil hauling. Bringing in fill dirt or removing excess soil adds to the total. Hauling is often the single largest line item on a regrade.
- Drainage systems. French drains, swales, and catch basins add materials and labor. A single French drain run can add thousands to a project once trenching, gravel, pipe, and fabric are counted.
- Access. Tight lots, gated yards, and steep driveways slow equipment and raise the price. If a mini-excavator cannot reach the work area, labor costs climb fast.
- Permits and surveys. Required checks add upfront costs but prevent bigger problems. A land survey for a complex lot is money well spent.
- Site restoration. Sod, seed, topsoil, and cleanup are easy to forget when comparing bids. Make sure every quote includes them.
Estimate Your Fill Dirt Before You Call
This is the step most homeowners skip, and why bids vary so wildly. If you know roughly how much dirt you need, you can compare quotes apples to apples.
The formula:
- Measure the area you need to fill in square feet (length × width).
- Decide the average depth of fill in inches. For a low spot that is 3 inches deep at the center and tapers to nothing, use 1.5 inches as the average.
- Convert inches to feet by dividing by 12.
- Multiply square feet × depth in feet to get cubic feet.
- Divide cubic feet by 27 to get cubic yards.
- Add 10-15% for settling and spillage.
- 20 × 30 = 600 sq ft
- 3 in. ÷ 12 = 0.25 ft
- 600 × 0.25 = 150 cubic ft
- 150 ÷ 27 = 5.6 cubic yards
- Add 15% = about 6.4 cubic yards
DIY vs. Professional: Where the Money Actually Goes
A DIY regrade on a small, flat yard with a few shallow dips is realistic. You need a shovel, rake, wheelbarrow, string line, level, and tamper; the cost is mostly materials and your weekends.
- The yard is larger than about 1,000 square feet of active work.
- The slope is steeper than about 10%.
- The fix requires moving more than a few cubic yards of soil.
- Drainage pipe, catch basins, or a swale is part of the plan.
- The low spot is near the foundation.
How to Compare Bids
When you get estimates, make sure each one spells out:
- Cubic yards of fill to be brought in and cubic yards of spoil to be hauled away
- Whether compaction is included and how it will be verified
- Drainage scope, pipe size, trench depth, outlet location
- Permit responsibility, who pulls it, who pays for it
- Restoration, sod, seed, topsoil, cleanup
- Timeline and payment schedule
Common Mistakes to Avoid With Grading Solutions for Uneven Yards
- Filling low spots without fixing the slope. You hide the problem instead of solving it.
- Skipping compaction. Loose fill sinks and recreates the uneven surface.
- Grading toward the house. Water should always flow away from the foundation.
- Ignoring the permit rules. Unpermitted grading can mean fines and forced repairs.
- Forgetting the drainage outlet. A French drain with nowhere to send water just moves the puddle.
- Using the wrong soil. Clay fill holds water; sandy fill erodes. Match the material to the job.
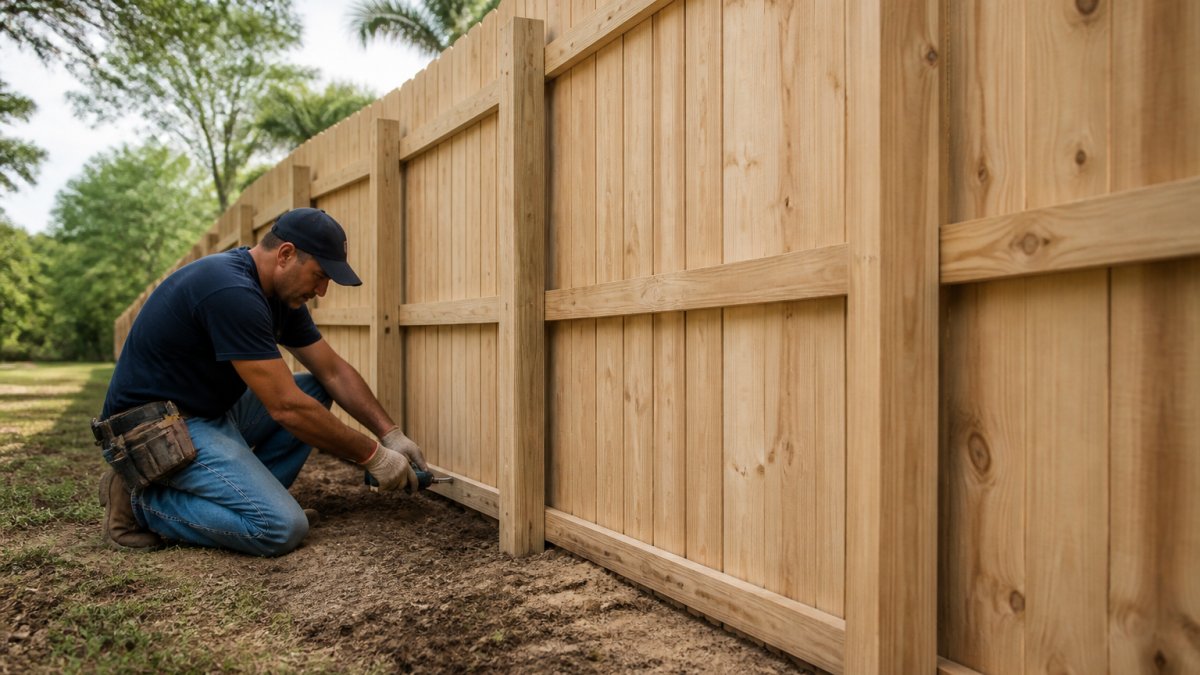
If the job feels bigger than a weekend project, that is normal. Large acreage, steep slopes, or chronic flooding call for professional equipment and experience. OCAS Residential handles land leveling, precision grading, and drainage solutions for homeowners across Southwest Ranches, Davie, Weston, and Cooper City, plus custom fencing and gates.
Frequently Asked Questions
What are the signs that your yard needs professional grading?
Watch for standing water that lingers more than 24 hours after rain, soggy patches that never dry out, soil washing against your foundation, and visible dips or slopes toward the house. Cracks in walkways, sinking patio pavers, and recurring mosquito problems also point to poor drainage. If two or more of these show up, grading solutions for uneven yards are worth a professional look before the damage spreads.
How much does residential land grading cost?
The final cost of professional grading services depends on yard size, slope, soil conditions, and whether drainage work is included. OCAS Residential provides free estimates, so you get a real number for your property.
Can improper grading damage your home's foundation?
Yes. When soil slopes toward the house instead of away, surface runoff pools at the foundation, saturates the soil, and increases hydrostatic pressure against basement or slab walls. Over time that leads to cracks, shifting, and expensive repairs. A proper grade drops at least 6 inches over the first 10 feet away from the foundation, which is why fixing backyard muddy spots early protects the whole structure.
What is the difference between rough grading and finish grading?
Rough grading moves the bulk of soil to establish the overall slope, drainage pattern, and elevation. Finish grading comes after, fine-tuning the surface within a quarter inch or so, adding topsoil, and preparing the bed for sod, seed, or pavers. Most uneven yard projects need both stages. Skipping finish grading leaves bumps and low spots that reappear once the grass settles.