 how-to
How to Prepare Land for a Shed Foundation
Table of Contents
- Assess Your Site and Check Local Building Codes
- Clear Vegetation and Remove Topsoil
- Excavate and Grade the Foundation Area
- How to Level Ground for a Shed
- Compact the Soil and Prepare the Sub-Base
- Best Gravel for Shed Base and Moisture Barriers
- Shed Site Drainage Solutions
- Final Inspection and Long-Term Maintenance
- Frequently Asked Questions
Last Updated: October 8, 2026
Assess Your Site and Check Local Building Codes
Understanding how to prepare land for a shed foundation determines whether your shed foundation lasts 20 years or fails in two.
Next, check local building codes. Most jurisdictions set minimum depth requirements below the frost line: 36-48 inches in northern climates, 12-18 inches in southern areas.
Call your local building department or visit their website and ask: What's the frost line depth here? Do you need a permit for a shed foundation?
Building codes exist because generations of builders learned hard lessons.
Clear Vegetation and Remove Topsoil
Vegetation and topsoil decompose, settle, and create voids beneath your structure. Remove both completely.
Clear all vegetation, grass, weeds, shrubs, roots, down to bare soil with a brush cutter or excavator.
Next, remove the topsoil layer. Dark, nutrient-rich, and full of organic material, topsoil compacts unevenly and keeps decomposing for years.
Remove all topsoil from the foundation area plus 2 feet beyond the perimeter to stop roots and organic matter migrating under your structure.
Excavate and Grade the Foundation Area
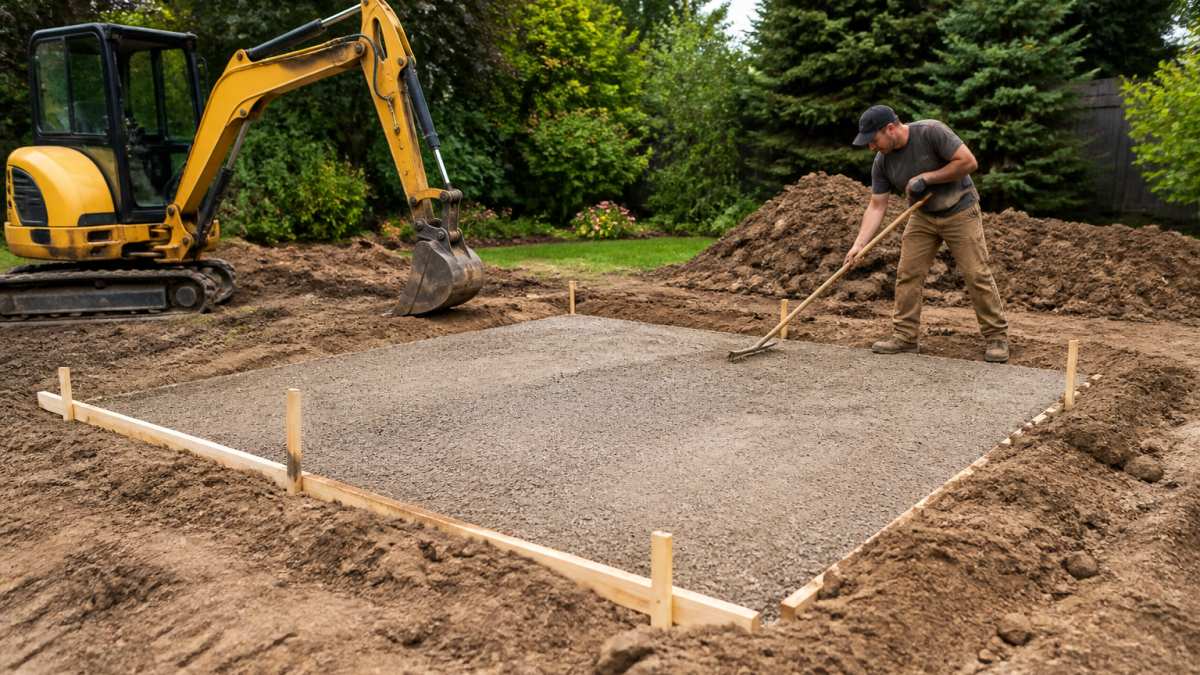
Use an excavator for anything larger than a small storage shed; for very small structures, a shovel works. Most homeowners hire equipment rental or a contractor for this phase.
Watch the soil composition as you dig: sticky, dense clay is problematic, crumbly sand is better, and rocky soil is ideal.
Create a rectangular excavation slightly larger than your shed footprint with clean, relatively vertical edges, sloped edges let materials shift inward.
How to Level Ground for a Shed
Leveling is precision work. Even small slopes cause water to pool and structures to settle unevenly.
Start in one corner and work systematically across the excavation.
The tolerance for levelness is typically ±1 inch over 10 feet. Tighter is better, but this is the industry standard.
Check your work multiple times: level diagonally corner to corner, then along the length and width. This phase takes patience but prevents problems later.
Compact the Soil and Prepare the Sub-Base
Uncompacted soil settles unevenly and creates foundation failure. Compaction forces soil particles together, reducing voids and increasing density for a stable platform.
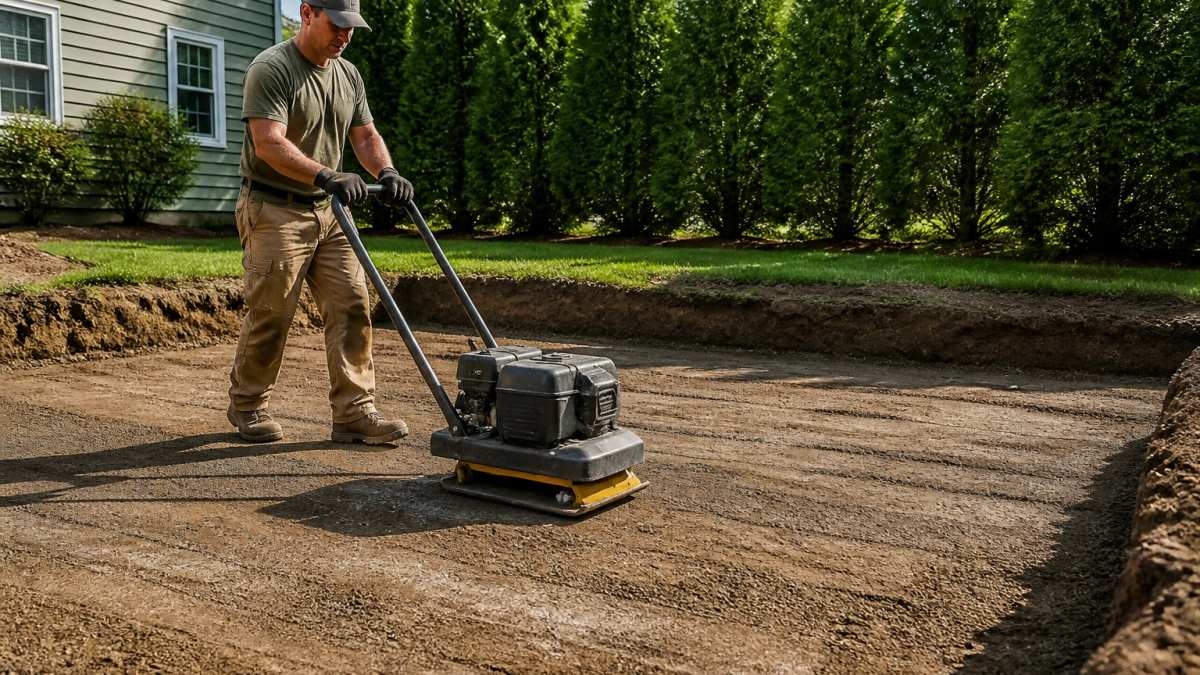
Use a plate compactor for residential foundations. These 200-400 pound machines vibrate against the soil, forcing particles together; rent one for $50-75 per day.
Make at least 3-4 passes across the entire excavation, overlapping each pass by 6 inches.
After compaction, add a sub-base layer, typically 4-6 inches of crushed stone or gravel, for drainage and stability.
Best Gravel for Shed Base and Moisture Barriers
The right base material separates a foundation that lasts decades from one that fails in years. Gravel provides drainage, prevents frost heave, and resists settling, but the correct gravel, barrier, and depth depend on your soil and shed's weight.
Match the Base to Your Soil Type
Generic advice to spread 4-6 inches of gravel fails on half of residential lots. Dig a test hole 12-18 inches deep and read the soil before ordering material.
- Clay soil. Sticky, dense, and slow to drain. Water sits on top instead of percolating, so a thin gravel layer just floats on a saturated subgrade. Excavate 2-4 inches deeper than normal, install a woven geotextile fabric, and use a coarser 3/4-inch clean crushed stone with no fines so water can move laterally to daylight. Clay also expands and contracts with moisture, so a deeper, well-draining base matters more here than anywhere else.
- Sandy soil. Drains quickly but shifts easily under load. Use a 1/2-inch minus (stone dust plus small stones) so the fines lock the grains together, and compact in 2-inch lifts rather than one thick layer. Sandy subgrade benefits from a layer of geogrid or woven fabric to keep the base from migrating into the sand.
- Rocky or gravelly soil. Often the best-case scenario. If the existing material is well-graded and drains, you may only need to level and compact it, then add 2-4 inches of 3/4-inch crushed stone as a cap. Remove any rocks larger than about 3 inches that create point loads under the shed.
- Silt or loam. The worst case. Silt holds water, loses strength when wet, and pumps under vibration. Remove it to the depth your frost line requires and replace with compacted crushed stone; do not try to build on it.
Choose the Right Foundation Material
The base layer is only half the decision. The foundation itself, concrete, gravel, or skids, should match your shed's weight, budget, and permanence.
| Foundation Type | Gravel Base Depth | Barrier | Best For | Trade-off |
|---|---|---|---|---|
| Concrete slab | 4-6 inches | Polyethylene vapor barrier under slab | Heavy sheds, permanent workshops | Highest cost and labor; hardest to relocate |
| Concrete piers/blocks | 4-6 inches | Landscape fabric | Elevated floors, uneven sites | More digging per pier; floor framing required |
| Compacted gravel pad | 4-6 inches | Woven landscape fabric | Light-to-medium sheds, budget builds | Can shift over years; needs periodic topping off |
| Pressure-treated skids on gravel | 2-4 inches | Landscape fabric | Small sheds, renters, movable structures | Least permanent; skids can rot if drainage fails |
Rule of thumb: if the shed holds heavy equipment, a vehicle, or a workshop floor, concrete is worth the cost. If it stores lawn tools and bikes, a compacted gravel pad or skids on gravel serves for years at a fraction of the price. Concrete piers are the middle path on sloped or wet sites.
Gravel Specs That Matter
Use crushed angular stone, not rounded river rock. Angular stones interlock and compact; rounded stones roll and shift. Standard choices are 3/4-inch clean crushed stone (drains fast, no fines) or 1/2-inch minus (fines fill voids for a denser surface).
Depth matters: a 4-6 inch compacted layer is standard, compacted in 2-inch lifts with a plate compactor. For clay subgrades, go deeper with clean stone; for sandy subgrades, use minus and compact thoroughly.
Barriers: Fabric vs. Vapor Barrier
Add a woven landscape fabric or moisture barrier between soil and gravel. It prevents soil from mixing with gravel and interrupts capillary action, soil moisture wicking upward into the base, which feeds frost heave.
- Gravel pads and skids: woven landscape fabric over the subgrade is sufficient.
- Concrete slabs: add a 6-mil polyethylene vapor barrier over the compacted gravel before pouring, and lap the seams.
- Concrete piers or blocks: fabric under the gravel improves longevity, but the piers themselves carry the load.
Climate Adjustments
Frost line depth changes everything: 36-48 inches in northern states, 12-18 inches in southern states. For a gravel pad or skids, you don't need to dig to the frost line, but you do need a base that drains and doesn't trap water, because saturated soil is what heaves. For concrete piers or slabs, follow your building department's required depth.
In heavy-rainfall regions, slope the finished gravel surface about 1 inch per 4 feet so water sheds away rather than pooling at the edges, and pair that with the drainage solutions below.
Shed Site Drainage Solutions
Poor drainage destroys foundations. Water pooling beneath your shed causes frost heave, settling, and structural damage. Drainage must move water away from the foundation.
The simplest solution is slope: grade the ground around your shed so water runs away from it.
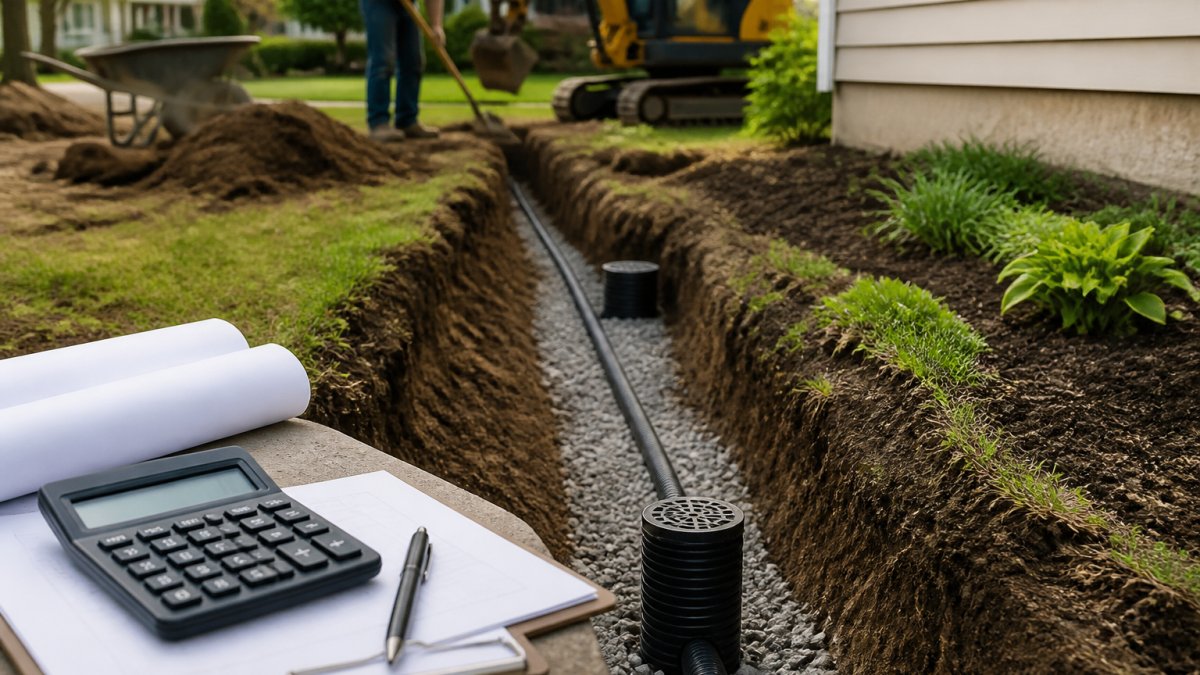
For standing water or high water tables, add a French drain, a gravel-filled trench with a perforated pipe that directs water away from the foundation.
For severe drainage issues, install a sump pump system. This involves a small pit with a pump that automatically removes water.
Final Inspection and Long-Term Maintenance
Most guides stop when the shed is set, exactly when the clock starts on problems that show up two to five years later: settling, heaving, and perimeter erosion. This section covers what to inspect before the shed goes down and how to fix failures afterward.
Pre-Placement Inspection
Before the shed touches the base, verify four things:
- Level. Check with a spirit level or laser level from corner to corner and diagonally. The tolerance is typically ±1 inch over 10 feet; tighter is better.
- Compaction. Walk firmly across the base. It should feel solid, not spongy. Soft spots mean more passes with the plate compactor.
- Drainage. Pour a bucket of water on the base and watch where it goes. It should move away from the shed footprint, not pool in the center.
- Barrier integrity. Confirm the landscape fabric or vapor barrier has no tears and that seams overlap by at least 6 inches.
Document the work with photos of the excavation, compacted soil, gravel layer, and drainage features. These help if you need to troubleshoot or make a warranty claim.
What Causes Shifting and Settling
Foundation movement is almost never random. It traces to one of four mechanisms:
- Frost heave. Water in the soil freezes, expands, and lifts the foundation. It happens when the base stays saturated and the frost line reaches the subgrade. Fix: improve drainage and, for concrete, dig below the local frost line.
- Differential settlement. One part of the base compacts more than another, usually because the soil was not uniform or compaction was uneven. Fix: re-level and re-compact the affected area, adding crushed stone as needed.
- Erosion. Water running along the perimeter washes fines out from under the base, creating voids. Fix: restore the slope away from the shed and add a French drain or downspout extensions if the water source is persistent.
- Organic decay. Roots or topsoil left under the base decompose and shrink. Fix: remove the affected material and replace it with compacted crushed stone.
Year-One Check
Inspect the shed after the first full wet season and again after the first freeze-thaw cycle. Small cracks or a slight tilt are normal as the base settles, but significant movement, doors that no longer close, visible gaps at the base, or a shed that rocks when you push it, signals a real problem. Address it before the second winter.
Ongoing Maintenance Schedule
- Annually: Clear gutters and downspouts. Verify that water still slopes away from the shed, soil settles over time and can reverse a grade. Remove weeds and grass within 2 feet of the perimeter so roots do not migrate under the base.
- Every 2-3 years: Walk the perimeter and look for low spots or exposed fabric. Re-level small dips with crushed stone and re-compact.
- Every 3-5 years: Top off gravel pads. Gravel compacts and spreads under load; adding a fresh 1-2 inch layer restores drainage and base height. This is inexpensive maintenance that prevents expensive repairs.
- After any major storm: Check for erosion channels along the perimeter and repair them before the next rain.
When to Call a Professional
If the shed has moved more than about 1 inch out of level, the base has sunk more than 2 inches in one area, or water consistently pools under the structure, the fix is usually beyond a homeowner's toolkit. A contractor can re-level the base, add drainage, or replace the foundation material, catching these problems early keeps the repair small.
A shed foundation is not a one-time project. The first year reveals how the base behaves; the next five years reveal whether the drainage and compaction were done right. A 30-minute annual inspection is the cheapest insurance you can buy.
Frequently Asked Questions
Can I pour concrete directly on dirt for a shed foundation?
No. Pouring concrete directly on dirt will cause settling, cracking, and structural failure. You must prepare the land first by excavating, grading, compacting the soil, and installing a sub-base layer of crushed rock or gravel. This creates a stable foundation that prevents moisture infiltration and ensures your shed remains level and structurally sound for years.
What is the best gravel for a shed base?
Crushed rock or angular gravel in the 3/4-inch size range works best for shed bases. This size compacts well, provides excellent drainage, and creates a stable sub-base. Avoid rounded pea gravel, which doesn't compact effectively. Lay 4-6 inches of crushed rock over landscape fabric after compacting your soil to create a proper foundation that resists settling and water damage.
How deep should I excavate for a shed foundation?
Excavation depth depends on your local frost line and soil conditions. In most regions, excavate 4-8 inches below the finished grade level. This allows room for landscape fabric, crushed rock base layer, and proper compaction. Check your local building codes for frost line requirements in your area, as some regions require deeper excavation to prevent frost heave damage during winter.
Do I need a permit for a shed foundation?
Most jurisdictions require permits for sheds over 200 square feet or permanent foundations. Check with your local building department before starting excavation. Permits ensure your foundation meets building codes and protects your property's value. The permit process typically includes site inspections for proper grading, drainage, and foundation depth compliance.