 how-to
How to Level a Sloped Yard for a Pool
Table of Contents
- Assess Your Yard's Slope and Choose a Pool Location
- How to Check if Ground is Level for a Pool
- Clear and Prepare Your Installation Area
- How to Level Ground for an Above-Ground Pool
- Retaining Wall for Pool on a Slope
- Drainage Solutions for a Sloped Backyard
- Equipment and Timeline for Pool Site Preparation
- Frequently Asked Questions
Last Updated: October 5, 2026
Assess Your Yard's Slope and Choose a Pool Location
The first step to level a sloped yard for a pool is understanding how steep your slope actually is.
Measuring slope to determine DIY feasibility
You can measure your yard's slope using basic tools. A slope is the angle of your ground relative to level.
Here's how to measure:
- Get a long straight edge (a 2x4 board works well) and a basic level
- Place the straight edge across the area where your pool will sit
- Put the level on top of the straight edge
- Measure the gap between the ground and the straight edge at the low point
- Divide that gap by the length of the straight edge
This gives you your slope ratio. A slope of 1:20 means the ground drops 1 inch for every 20 inches horizontally.
Interpreting your slope ratio:
- 1:20 or gentler (under 5%): Most above-ground pools can be installed with minimal leveling. Hand tools and a few hours of work are usually sufficient.
- 1:15 to 1:10 (5-10%): Moderate slope. Cut-and-fill method works, but you'll move significant soil. A rented plate compactor becomes worthwhile. Plan 2-4 weekends for a 15×24-foot pool.
- 1:8 to 1:5 (10-20%): Steep slope. Cut-and-fill becomes labor-intensive and may require a retaining wall. Consider professional grading equipment or a contractor.
- Steeper than 1:5 (over 20%): A retaining wall is nearly mandatory. Professional design and engineering are required. DIY leveling is not practical.
Understanding pool manufacturer tolerances
Check your pool's manufacturer guidelines before starting. Most above-ground pools allow 1-2 inches of variation; inground pools are stricter, often requiring 1/4 inch or less.
Uneven bases create uneven water pressure on pool walls, risking cracks, liner damage, or collapse. A 3-inch height difference can cause frame failure within one season.
Deciding between DIY and professional help
DIY is reasonable for slopes 1:15 or gentler with pools under 24 feet. Hire a professional for slopes steeper than 1:10, complex terrain, or clay soil. A retaining wall is needed for slopes steeper than 1:8.
How to Check if Ground is Level for a Pool
Once you understand your slope, verify the ground is level before installation, eyeballing rarely works.
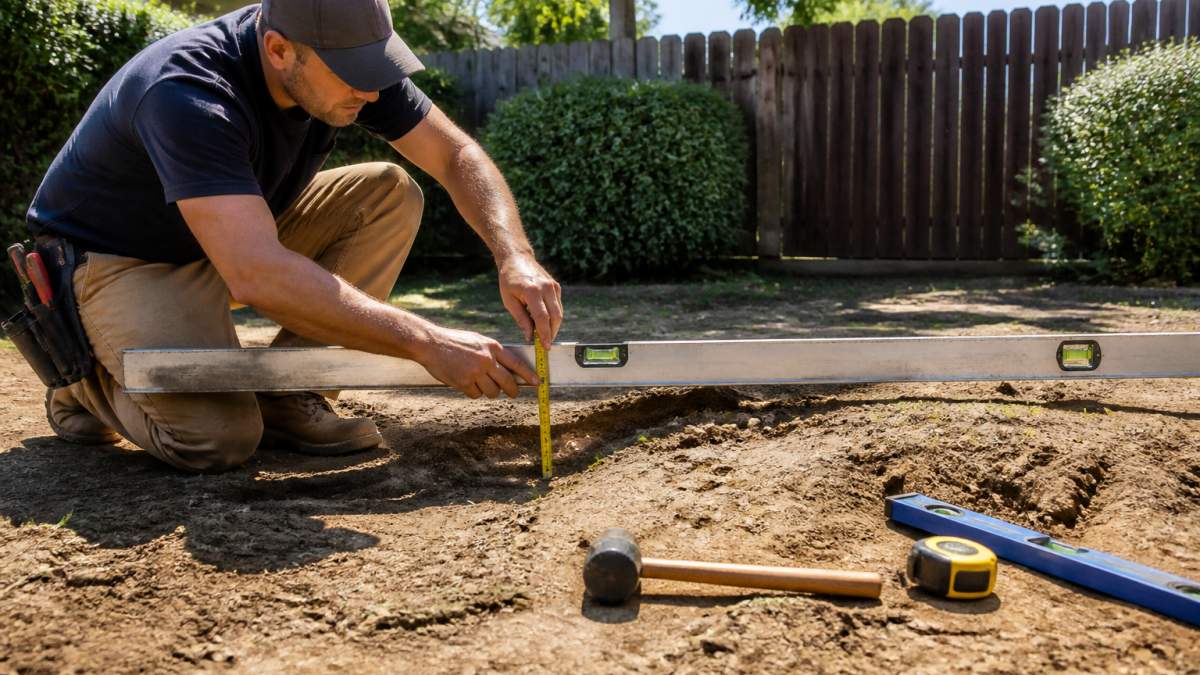
Tools and techniques for accurate leveling checks
Use a 4-foot or 6-foot level, a straight edge, a measuring tape, and wooden shims.
Place the straight edge across the pool area, set the level on top, and check if the bubble is centered. Measure any gaps and repeat in a grid pattern across the site.
Identifying high spots and low spots
Mark high spots (raised areas) and low spots (dips) with spray paint. High spots must be cut down; low spots filled in to create a flat surface.
Clear and Prepare Your Installation Area
Before you level anything, you need a clean workspace. Debris, roots, and vegetation prevent proper soil contact and create soft spots.
Removing debris and vegetation
Clear dead grass, roots, rocks, and debris. Remove at least 6 inches of topsoil and vegetation from the pool perimeter. Topsoil compresses over time and roots decay, creating voids.
Marking the pool perimeter
Mark the pool dimensions with spray paint or chalk, adding 2 feet beyond the edge on all sides for the frame and working room.
How to Level Ground for an Above-Ground Pool
This is where the actual work happens. Leveling ground for an above-ground pool uses two main techniques: cutting high spots and filling low spots.
Cut and fill method for uneven terrain
The cut and fill method: identify your lowest point as reference level, cut ground above it, and use that soil to fill areas below. Compact as you go. This is efficient for DIY projects since you use your own soil.
Compacting soil and supporting the pool base
Compact soil in 3-4 inch layers using a hand tamper or rented plate compactor. The soil must feel solid and resist pressure. Test by stepping hard, if it gives way, compact more.
Retaining Wall for Pool on a Slope
If your slope is steeper than 1:8, or if you want to level a sloped yard without moving massive amounts of soil, a retaining wall becomes the better option.
When a retaining wall is necessary
A retaining wall holds back soil on a slope, creating a flat platform. You need one if your slope is steeper than 1:8, you have significant elevation change, or your soil is clay.
Design, permits, and engineering considerations
Check local building codes before building. Permit requirements vary: some jurisdictions require permits for walls over 3 feet, others over 4 feet. Contact your local building department to confirm.
Design considerations for DIY vs. engineered walls:
DIY-appropriate walls (under 2 feet tall):
- Stacked stone or dry-stack concrete blocks
- Timber (pressure-treated 6×6 or 8×8 posts)
- Segmental retaining wall blocks (SRW blocks)
- No permit typically required
- Cost: $15-$40 per linear foot for materials
- Drainage: Simple gravel backfill is usually adequate
Engineered walls (2-4 feet tall):
- Require a professional design or engineer's plan
- May require a building permit
- Must include proper drainage (perforated drain pipe, gravel, or geocomposite)
- Must account for soil type, water table, and pool weight
- Cost: $50-$150 per linear foot (including design and materials)
- Professional installation recommended
Walls over 4 feet:
- Require professional engineering and design
- Almost always require a building permit
- Must be designed by a licensed engineer
- Drainage and structural reinforcement are critical
- Cost: $100-$250+ per linear foot
- Professional installation is mandatory
Drainage integration with retaining walls
Drainage is the most common failure point for retaining walls. Water buildup behind the wall creates hydrostatic pressure that can cause the wall to fail, tilt, or collapse.
Proper drainage setup:
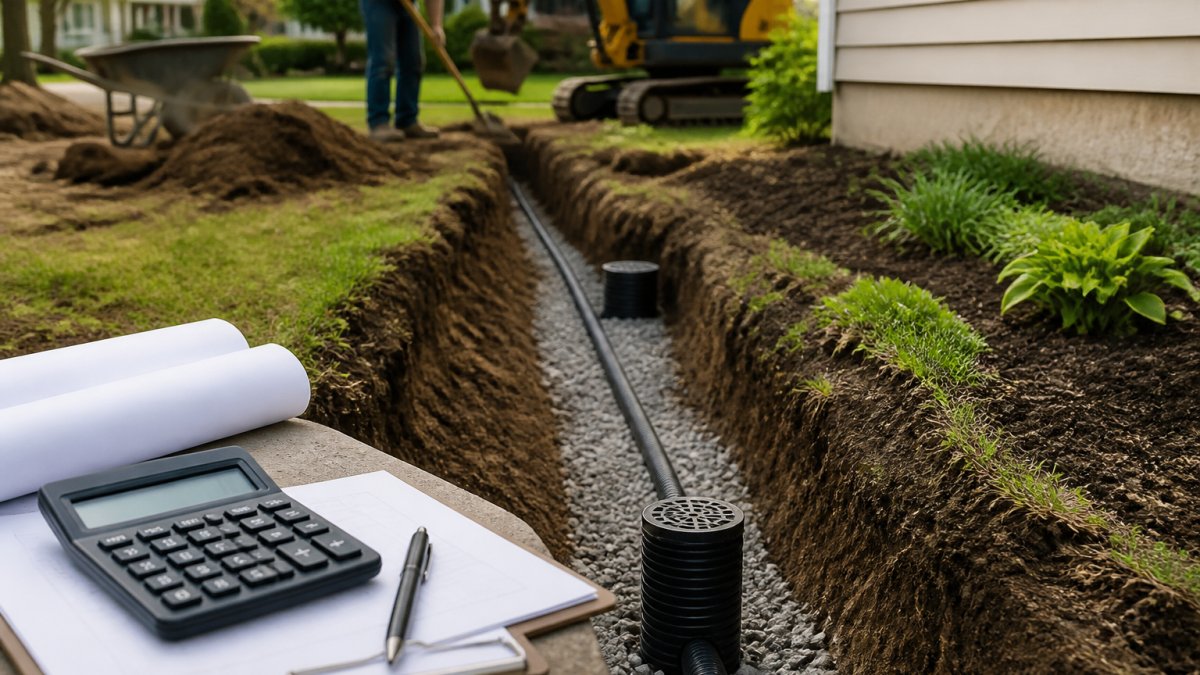
- Perforated drain pipe: Install a 4-inch perforated PVC or HDPE drain pipe at the base of the wall, sloped to daylight or a sump.
- Gravel backfill: Fill the first 12 inches behind the wall with coarse gravel (3/4-inch stone). This allows water to flow to the drain pipe instead of pooling.
- Geotextile fabric: Place landscape fabric between the gravel and the soil to prevent soil from clogging the gravel.
- Slope the backfill: Grade the soil behind the wall to slope away from the wall, directing surface water away.
Without proper drainage, water pressure builds behind the wall. After heavy rain or snowmelt, the wall can shift, crack, or fail entirely.
Load-bearing capacity and pool weight
Your retaining wall must support not only the soil behind it but also the weight of the pool and water.
Typical pool weights:
- An 18×33-foot above-ground pool holds approximately 14,000-18,000 gallons of water.
- Water weighs 8.3 pounds per gallon, so that pool holds roughly 116,000-150,000 pounds of water.
- The pool structure, decking, and equipment add another 10,000-20,000 pounds.
- Total load: 130,000-170,000 pounds concentrated in one area.
If your retaining wall is holding back soil directly adjacent to or under the pool, it must be engineered to handle this load.
For DIY walls: Keep the pool at least 3-5 feet away from the wall base.
Material options and cost comparison
Stacked stone or fieldstone:
- Cost: $20-$40 per linear foot
- Height limit: 2-3 feet (DIY)
- Durability: 20-30 years
- Appearance: Natural, attractive
- Drawback: Requires skilled stacking; drainage must be managed carefully
Pressure-treated timber (6×6 or 8×8):
- Cost: $15-$35 per linear foot
- Height limit: 2-3 feet (DIY)
- Durability: 10-20 years (timber eventually rots)
- Appearance: Rustic, blends with landscaping
- Drawback: Requires replacement; not suitable for long-term installations
Segmental retaining wall (SRW) blocks:
- Cost: $25-$50 per linear foot
- Height limit: 2-4 feet (DIY up to 3 feet; engineered for 4+ feet)
- Durability: 30-50+ years
- Appearance: Modern, uniform, many colors available
- Advantage: Interlocking design provides stability; easier to install than stone
Poured concrete:
- Cost: $60-$150 per linear foot
- Height limit: 3-6+ feet (engineered)
- Durability: 50+ years
- Appearance: Functional, can be finished or faced with stone
- Drawback: Requires professional installation; drainage must be built in
For most residential pool projects, segmental retaining wall blocks offer the best balance of cost, durability, and ease of installation.
Drainage Solutions for a Sloped Backyard
Water runoff is often overlooked when leveling a sloped yard for a pool. Poor drainage leads to standing water, erosion, and structural problems.
Preventing water runoff and erosion
Sloped yards naturally shed water. You need to direct that water away from your pool. Standing water around the pool damages the structure and creates safety hazards.
Install drainage solutions:
- Gravel trenches along the uphill side of your pool
- French drains to redirect water
- Swales (shallow ditches) to guide water away
- Perimeter drains around the pool base
These prevent water from pooling against your pool structure. They also prevent erosion that can undermine your pool base over time.
Grading to direct water away from the pool
Grading is the practice of shaping the ground to direct water flow.
Create a slight slope (1:20 or gentler) away from the pool on all sides.
The goal is simple: water should never sit next to your pool. It should flow away naturally due to the slope.
Equipment and Timeline for Pool Site Preparation
Preparing a sloped yard for a pool takes time and the right equipment. Here's what to expect.
Equipment you'll need:
- Shovels and digging tools
- Level and straight edge
- Hand tamper or rented plate compactor
- Wheelbarrow for moving soil
- Spray paint for marking
- Measuring tape
- Shovel for precise cuts
Timeline depends on your slope and pool size. A small above-ground pool on a gentle slope might take 1-2 weekends.
For complex slopes or large pools, professional site preparation saves time and ensures the job is done right.
Frequently Asked Questions
How many inches can a pool be unlevel?
Most above-ground pool manufacturers specify a maximum slope of 1 inch per 10 feet of pool diameter. For example, a 15-foot pool should have no more than 1.5 inches of variation across its entire footprint. Exceeding this tolerance can cause uneven water pressure on the pool walls, liner stress, and potential structural failure. Always check your specific pool's manufacturer instructions before installation.
Can you put a pool on a slanted yard?
Yes, but it requires proper preparation. Sloped yards need grading, cut-and-fill work, or a retaining wall to create a level surface that meets manufacturer tolerances. The steeper the slope, the more preparation work is needed. Minor slopes (under 2%) may only require fill dirt and compaction, while steeper slopes typically need professional grading or wall construction to ensure safety and longevity.
Should you cut into a slope or build up the low side for a pool?
The best approach depends on your slope's severity and soil conditions. For gentle slopes, filling low spots with compacted soil is often simpler and less disruptive. For steeper slopes, cutting high spots and redistributing soil (cut-and-fill method) is more efficient. Professional grading assessment determines which method minimizes erosion risk, maintains drainage, and provides stable structural support for your pool base.
Do you need a retaining wall to install a pool on a slope?
Not always. Minor slopes can be leveled through grading and compaction alone. Retaining walls become necessary for steeper slopes (typically 10% grade or higher) where cutting and filling alone cannot safely support the pool structure. A retaining wall requires proper design, permits, and engineering to handle water pressure and soil load. Professional evaluation determines whether your specific slope requires a wall.
Leveling a sloped yard for a pool is challenging but achievable for many homeowners. The key is measuring accurately, preparing the ground properly, and compacting thoroughly. If your slope is steep or your pool is large, professional help ensures your pool sits on a solid, level foundation that lasts for years. Contact OCAS Residential for a free estimate on site preparation and land leveling services.