 how-to
Residential Gate Repair and Installation Guide
Table of Contents
- What You'll Need Before Starting Residential Gate Repair and Installation
- Automatic Gate Opener Troubleshooting: Common Issues and Fixes
- Step-by-Step Residential Gate Installation Process
- Residential Gate Maintenance Checklist for Long-Term Performance
- Cost of Driveway Gate Installation and Repair Services
- Common Mistakes to Avoid During Gate Installation and Repair
- Frequently Asked Questions
Last Updated: August 31, 2026
What You'll Need Before Starting Residential Gate Repair and Installation
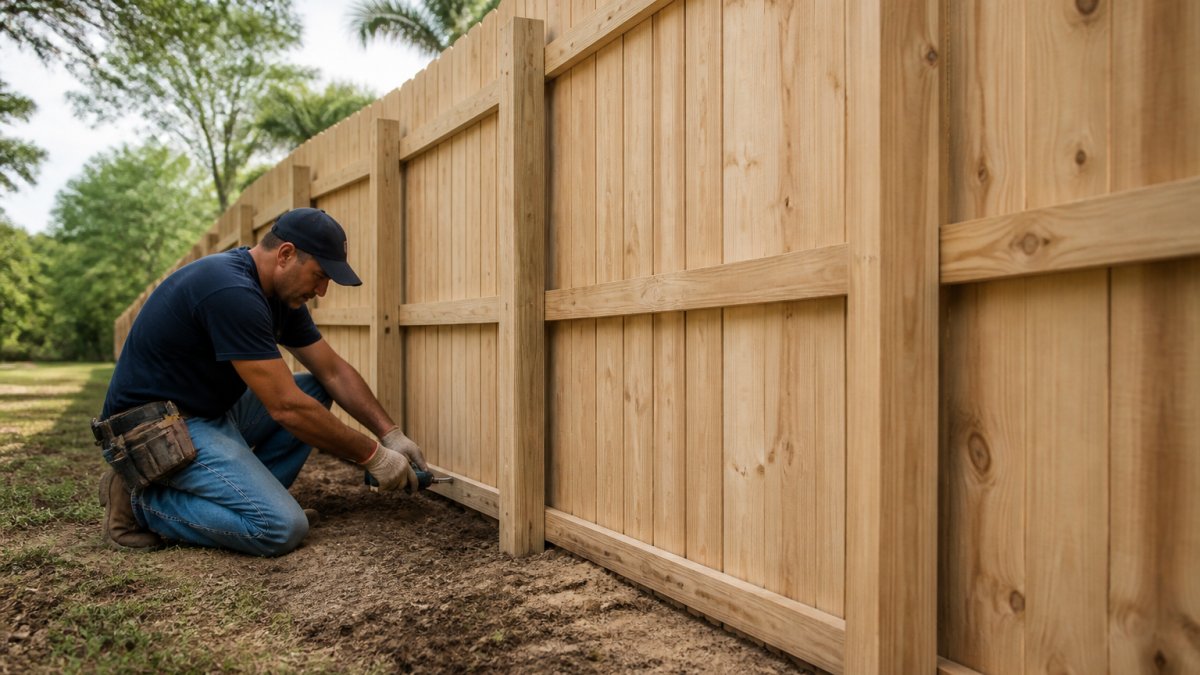
Gather essential tools before starting: power drill, socket set, level, tape measure, adjustable wrench, post-hole digger, concrete mix, work gloves, safety glasses, and steel-toed boots. Material requirements depend on gate type, swing gates need hinges, lag bolts, and frame kits; sliding gates require track hardware, rollers, and guide brackets. Use rust-resistant hardware, especially in humid climates.
For automatic gate openers, have a control panel, transformer, and safety sensors ready. Most systems need power within 25 feet of the gate. Check your electrical capacity before starting to avoid safety hazards.
At OCAS Residential, we recommend assessing your driveway condition first. Uneven ground, poor drainage, or soft soil compromises gate performance. Document your property layout: measure gate opening width, fence line length, and distance from house to gate. Note obstacles like trees, utilities, slopes, or drainage issues.
Automatic Gate Opener Troubleshooting: Common Issues and Fixes
Most automatic gate opener failures stem from sensor problems, electrical failures, or mechanical wear. Understanding these categories lets you fix problems before they become emergency repairs.
Safety Sensors Not Detecting Motion
Blocked sensors are the most common culprit. Dirt, spider webs, or debris covering the sensor lens prevents signal transmission. Clean both lenses with a soft cloth and check alignment, sensors must face each other directly across the gate opening. Misalignment of just a few degrees stops detection.
Weather affects sensor performance. Heavy rain, fog, or direct sunlight interferes with infrared signals. Reposition sensors to shade if possible, or upgrade to higher-power models for harsh conditions. Replace batteries in wireless sensors annually, even if the gate seems to work. Low battery voltage reduces signal strength without obvious warning signs.
Remote Entry Not Responding
Battery failure is the first check. Replace the remote battery and test from 10 feet away, then 30 feet away. If the gate responds at close range but not from a distance, the battery is weak.
Reprogramming the remote solves many issues. Most gate openers allow you to reset the remote code by holding the transmitter button while pressing a button on the control panel. Consult your gate opener's manual for the specific sequence.
Interference from nearby electronics disrupts signal transmission. Microwave ovens, Wi-Fi routers, and power lines create radio frequency noise that blocks remote signals. Relocate wireless equipment away from the gate opener if possible. Check the receiver antenna on the gate opener control panel, it should extend straight up or at a 45-degree angle. Bent or missing antennas prevent signal reception entirely.
Gate Motor Repair and Alignment Issues
A struggling motor sounds louder than normal, moves slowly, or stops mid-cycle. Grinding suggests internal damage requiring motor replacement. Squealing often means the motor needs lubrication, apply silicone-based lubricant to the motor shaft and bearings, never use oil.
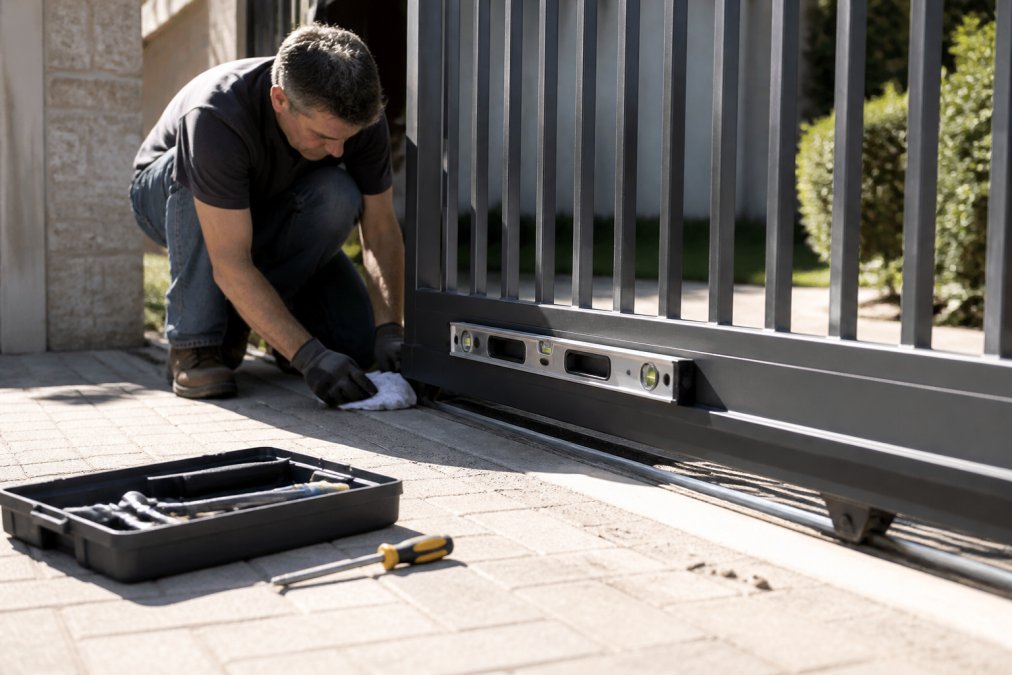
Gate alignment problems stress the motor. Check gate alignment monthly using a level on both the top and bottom of the gate frame. Worn gate hinges cause misalignment. Inspect hinges for bent pins, cracked welds, or excessive play. Replace hinges as a pair.
Track wear affects sliding gates. Inspect tracks for dents, debris, or bent sections. Rollers should spin freely without resistance. Replace rollers if they don't turn smoothly or if tracks show visible grooves from wear.
Step-by-Step Residential Gate Installation Process
Installing a residential gate requires planning, precision, and patience. The installation process takes two to three days for a typical swing gate, longer for sliding gates with extensive track work.
Choosing Between Swing Gate and Sliding Gate
Swing gates swing inward or outward like a standard door. They need 10 to 15 feet of clearance space and work best on flat terrain. Sliding gates roll along a track parallel to the fence line, require less clearance, and work on sloped driveways. Choose sliding if your driveway slopes more than 5 degrees or if space is limited.
Preparing Your Driveway and Foundation
Mark post locations, for swing gates, posts typically sit 4 to 6 feet apart. Dig post holes 3 feet deep and 10 inches wide (extension.oregonstate.edu). Remove loose soil and rocks from the bottom, then fill the bottom 6 inches with gravel for drainage. Check hole alignment with a string line; posts must be perfectly vertical.
For sliding gates, prepare the track foundation carefully. The track must sit on solid, level ground. Slopes exceeding 5 degrees require concrete track beds. Allow concrete to cure fully (48 hours minimum) before installing track (cement.org).
Installing Gate Hardware and Hinges
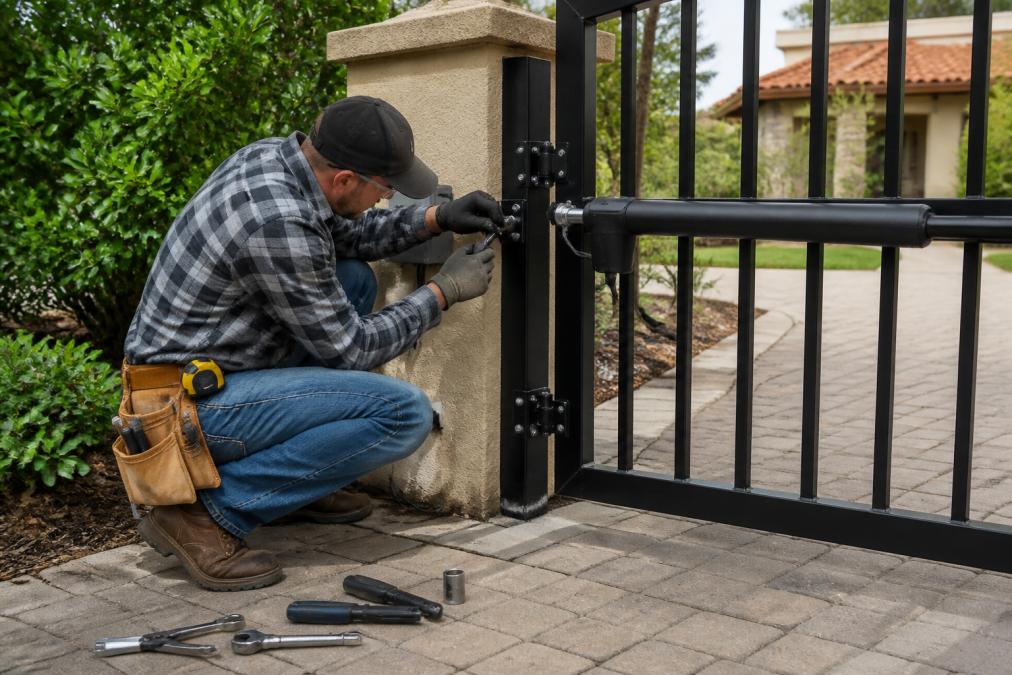
Position hinges on the gate frame before installation. Most residential swing gates use three hinges: one at the top, one at the bottom, and one in the middle (isa.org). Mark hinge locations with a pencil and drill pilot holes to prevent wood splitting.
Bolt hinges securely using stainless steel bolts rated for outdoor use. Install the gate on its posts with a helper holding it level. Use temporary braces to hold the gate in perfect alignment. Check that the gate swings freely without binding. Gaps between the gate and posts should be consistent, typically ½ inch on each side.
Install gate latches and stops. A gate stop prevents the gate from swinging past 90 degrees, which damages hinges.
Setting Up Gate Opener System and Access Control
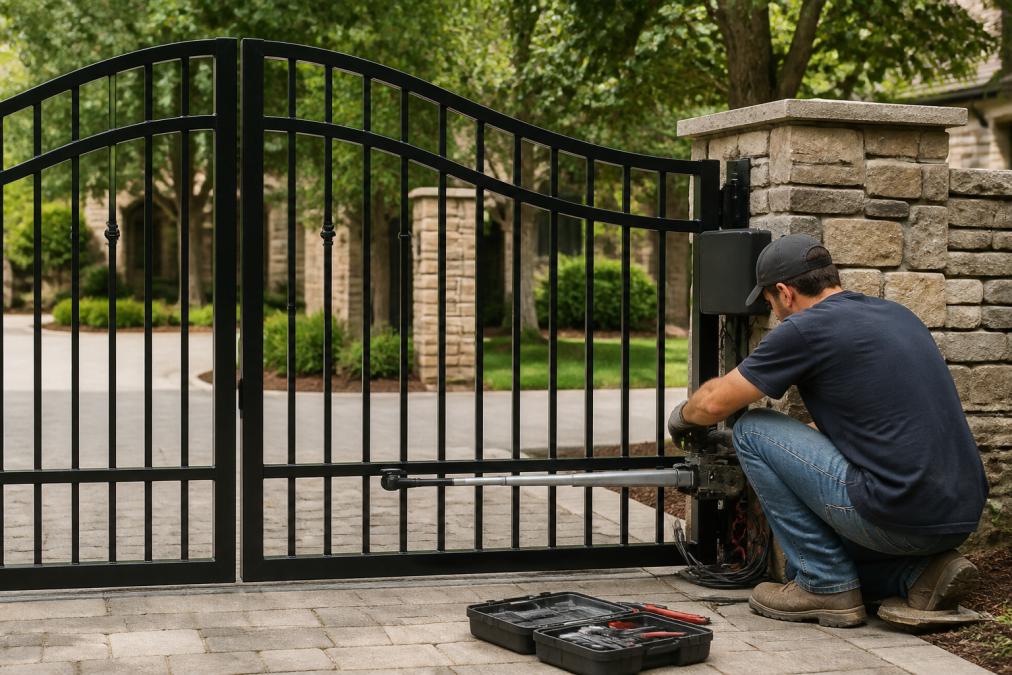
Mount the gate opener motor according to manufacturer specifications. Most swing gate openers mount on one fence post or on a separate concrete pad. Check that the mounting location is solid and level.
Connect the gate opener to your electrical supply. This typically requires running a dedicated circuit from your house breaker panel. Hire a licensed electrician for this work, electrical errors create fire and shock hazards.
Install safety sensors on both sides of the gate opening, positioned 4 to 6 inches above ground level, facing each other. Sensors must have a clear line of sight with no obstructions. Test sensor function before finalizing installation.
Program your access control system by holding the remote button while pressing the control panel's program button. Test all remotes from various distances to confirm reliable operation.
Install a keypad entry system if desired. Mount the keypad on the gate post at eye level, protected from direct rain. Program a secure PIN code. Add an intercom system for additional security, allowing visitors to communicate with homeowners before the gate opens.
Residential Gate Maintenance Checklist for Long-Term Performance
Preventative maintenance keeps residential gates operating reliably for 20+ years. A well-maintained gate rarely needs emergency repairs.
Monthly and Seasonal Maintenance Tasks
Inspect your gate monthly for visible damage: bent hinges, cracked welds, loose bolts, or rust spots. Address small issues immediately before they spread.
Clean gate tracks and rollers every month. Dirt and debris accumulate in tracks, forcing the motor to work harder. Use a brush to sweep out loose material, then wipe tracks with a damp cloth. For sliding gates, spray a light coating of silicone lubricant on tracks and rollers.
Test safety sensors monthly. Walk slowly toward the gate as it closes; it should stop and reverse immediately when you cross the sensor beam. Replace batteries if sensors seem sluggish.
Lubricate hinges and moving parts quarterly. Apply silicone-based lubricant to hinge pins, latch mechanisms, and motor pivot points. Avoid oil-based lubricants, which attract dirt.
Before winter, inspect all bolts and tighten loose ones. Check weatherstripping around gate frames, replace if cracked or missing. In spring, inspect for winter damage: rust from salt spray, cracks from freeze-thaw cycles, or hinge wear.
Preventative Maintenance to Avoid Emergency Repairs
Paint or seal wooden gates every two years. Use exterior-grade paint or stain rated for your climate. Metal gates benefit from rust-preventative coating applied annually in humid regions.
Inspect welds annually on metal gates. Look for cracks radiating from welds or visible separation between welded joints. Cracked welds require professional repair before the gate fails structurally.
Monitor gate alignment quarterly using a level on the gate frame. Misaligned gates stress hinges and motors. If alignment drifts, adjust hinges or hinge shims to restore level operation.
Replace worn rollers before they fail completely. Rollers that don't spin freely or show flat spots indicate bearing wear. Most residential gate rollers last 5 to 10 years depending on use frequency.
Drain water from low spots around gate posts. Standing water causes rust and post rot. Ensure proper slope away from posts, ideally 1 inch of drop per 10 feet.
Test your gate opener's manual release mechanism monthly. Power failures happen, and you need to open your gate without electricity.
Cost of Driveway Gate Installation and Repair Services
Understanding gate costs helps you budget for installation and maintenance. Pricing varies widely based on gate type, materials, and your specific situation.
Factors That Affect Installation Pricing
Gate material drives initial cost. Vinyl gates cost less upfront but require less maintenance. Wood gates offer aesthetic appeal but need regular painting or sealing. Steel and aluminum gates provide durability with moderate maintenance.
Gate size significantly impacts installation cost. Larger gates need stronger hinges, heavier motors, and more concrete for posts. A 10-foot gate costs substantially more than a 6-foot gate.
Terrain difficulty affects labor costs. Level driveways allow straightforward installation. Sloped driveways require additional preparation and stronger foundations. Soft, wet soil may require special foundation work.
Access control complexity influences pricing. Basic swing gate openers cost less than sliding gate systems. Adding keypads, intercoms, or smart home integration increases system cost.
Material quality varies significantly. Heavy-duty commercial-grade hardware costs more than standard residential components. Stainless steel hardware resists rust better than galvanized steel but costs more upfront.
Repair vs. Replacement: When to Upgrade
Repair makes sense when damage is localized. A broken hinge, failed motor, or damaged section of track can be fixed affordably. If repair costs less than 30 percent of replacement cost, repair is the practical choice.
Replace when multiple systems fail simultaneously. If your gate has a bent frame, worn hinges, failing motor, and rusty tracks, replacement often costs less than repairing everything.
Consider age when deciding. Gates older than 15 years with significant wear should be replaced rather than repaired repeatedly. Newer materials and openers offer better reliability and lower maintenance.
Evaluate safety. Gates with cracked welds, severely bent frames, or unreliable openers pose safety risks. Replacement prioritizes safety over repair cost.
Common Mistakes to Avoid During Gate Installation and Repair
Skipping proper site preparation creates alignment problems that haunt you for years. Shallow post holes, uncompacted soil, or poor drainage cause gates to settle and misalign.
Choosing undersized motors for heavy gates leads to premature failure. Weigh your gate before selecting a motor.
Installing sensors at the wrong height reduces their effectiveness. The 4-to-6-inch height range works for most situations; follow manufacturer specifications.
Neglecting electrical safety creates hazards. Hire a licensed electrician for any electrical work. The cost is minimal compared to fire damage or electrocution risk.
Using indoor-rated hardware outdoors causes rapid rust and failure. Stainless steel hardware costs more but lasts decades outdoors.
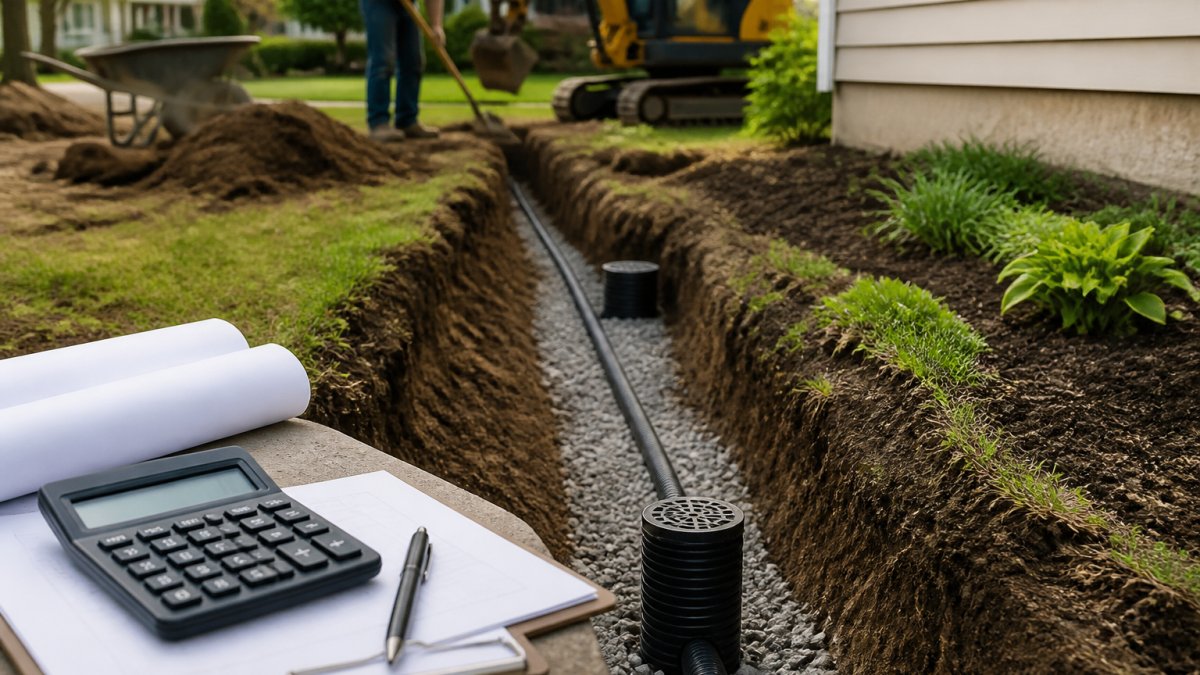
Ignoring drainage around gate posts leads to rot and rust. Proper grading and French drains prevent water accumulation.
Attempting DIY electrical work on automatic gate systems creates safety and legal issues. Most jurisdictions require licensed electricians for gate opener installation.
Proper residential gate repair and installation demands attention to detail, quality materials, and appropriate expertise. Whether you're installing a new gate, troubleshooting opener issues, or maintaining existing equipment, the right approach prevents costly failures and extends gate life significantly.
OCAS Residential specializes in custom gate installation, repair, and replacement for residential properties. Our team handles everything from site preparation and gate fabrication to automatic opener systems and access control setup. OCAS Residential's comprehensive property solutions ensure your gate operates reliably for decades with minimal maintenance.
Schedule a free estimate with OCAS Residential to assess your gate needs. Our team evaluates your property, discusses your security requirements, and provides transparent pricing for installation or repair work. Get started today and transform your property's entrance with professional, reliable gate solutions.
| Task | Frequency | Priority |
|---|---|---|
| Clean tracks and rollers | Monthly | High |
| Inspect for visible damage | Monthly | High |
| Test safety sensors | Monthly | High |
| Lubricate hinges and moving parts | Quarterly | Medium |
| Check gate alignment | Quarterly | Medium |
| Paint or seal wooden gates | Every 2 years | Medium |
| Inspect welds on metal gates | Annually | High |
| Replace worn rollers | As needed | High |
| Test manual release mechanism | Monthly | High |
Frequently Asked Questions
Q: What are the signs that my automatic gate needs repair?
A: Watch for gates that move slowly, make grinding noises, or don't fully open or close. Safety sensors that fail to detect motion, remote entry buttons that don't respond, and gates stuck in one position are clear indicators. Also check for visible rust on hinges, misaligned gate tracks, or damaged rollers. If your gate operator requires multiple button presses to function, professional gate motor repair may be needed soon.
Q: How often should I perform residential gate maintenance?
A: Follow a residential gate maintenance checklist monthly for basic tasks like cleaning tracks and lubricating hinges. Inspect safety sensors and test remote entry systems every three months. Seasonal checks before winter prevent weather-related damage. Annual professional inspections can help catch alignment issues and wear on gate hardware before they require emergency repair. Preventative maintenance extends your gate's lifespan and reduces costly downtime.
Q: What factors affect the cost of driveway gate installation?
A: Installation pricing depends on gate type (swing gates typically cost less than sliding gates), material choice, driveway length, and site preparation needs. Access control systems, keypad entry, intercom systems, and automatic gate openers add to the base cost. Custom fabrication and welding services increase expenses. Local labor rates and site conditions also impact final pricing. Contact OCAS Residential for a free estimate tailored to your property.
Q: Can I troubleshoot my automatic gate opener myself before calling a professional?
A: Yes, start by checking if the remote battery needs replacement and that safety sensors are clean and properly aligned. Verify the gate opener has power and test the keypad entry system. Clear any debris from gate tracks and rollers that might block movement. If the gate motor won't respond after these checks, or if sensors remain faulty, professional gate motor repair may be necessary to avoid damage to the operator system.
This article was written using GrandRanker