 how-to
How to Prepare Land for Fencing: Step-by-Step Guide
Table of Contents
- What to Check Before You Prepare Land for Fencing
- Utility Line Marking 811: Call Before You Dig
- Clearing the Fence Line and Assessing the Ground
- Fence Post Hole Depth Requirements and Soil Stability
- How to Fix Backyard Muddy Spots Before Fencing
- Plan Your Gate Placement and Material Logistics
- DIY vs. Professional Site Preparation
- Conclusion: Set Up a Smooth Fence Installation
- Frequently Asked Questions
Last Updated: September 6, 2026
What to Check Before You Prepare Land for Fencing
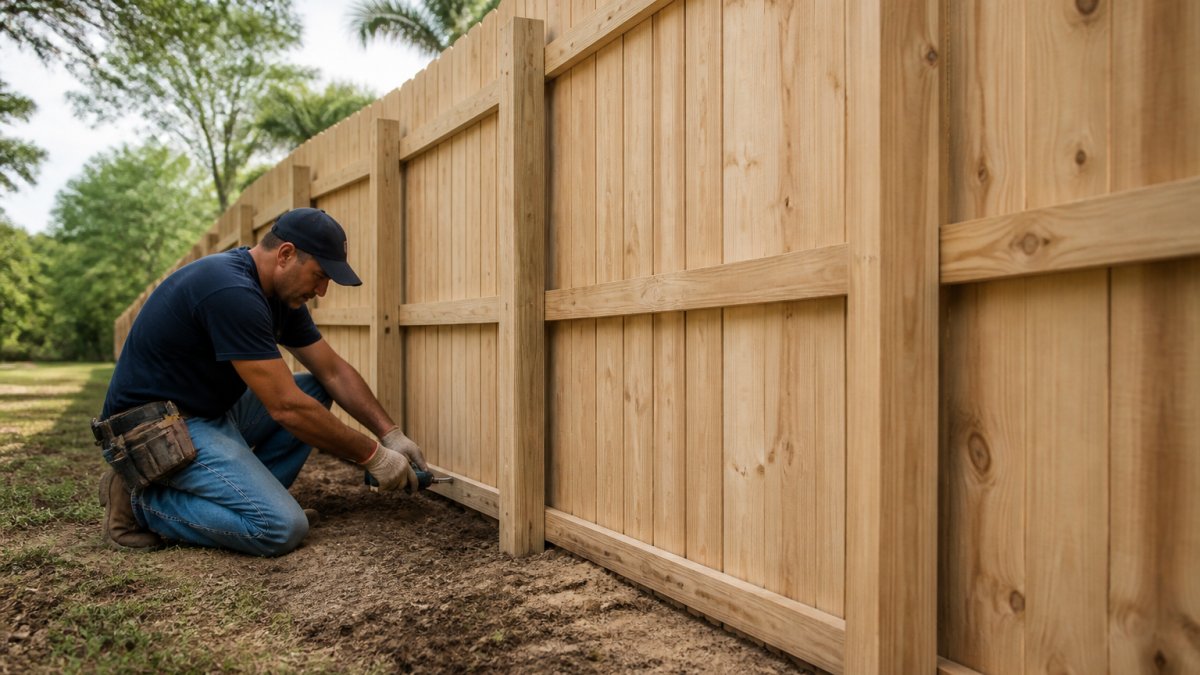
Preparing land for fencing is more than digging holes and setting posts. The most common reason fences fail is improper placement, not poor construction. Verify where you can legally build and what restrictions apply before any equipment touches your yard.
Property surveys and easements are the first documents to pull. A property survey shows official boundary lines; shrubs, driveways, and old fences often sit a foot or more inside the actual line, and building on the neighbor's side can lead to costly removal orders. Check for recorded easements, which give utilities or neighbors legal access across your land, building over one can block maintenance crews and result in forced removal at your expense.
Local Zoning and HOA Rules
Zoning ordinances and HOA regulations dictate fence height, material, and setback distances from the street. Contact your local planning department to confirm permit requirements, and if you belong to an HOA, review its covenants and architectural guidelines, which often have stricter standards than local codes. Skipping this step can mean fines and forced modifications after installation.
Utility Line Marking 811: Call Before You Dig
Before any excavation begins, you must contact the national "Call Before You Dig" service by dialing 811. This free service notifies local utility companies to mark the location of underground gas, electric, water, and sewer lines on your property. The utility line marking 811 process is legally required in most states before any digging project, including fence post holes (call811.com).
The process takes a few days, so call well ahead of your planned start date. Utility workers will paint color-coded lines on your lawn, with each color representing a different type of underground utility. Hitting a gas line or electrical cable with a post-hole digger is dangerous and expensive. Official guidance on safe digging practices from the Common Ground Alliance emphasizes that the service is free and that a quick call prevents property damage, injury, and service outages. Treat these markings as permanent until your project is complete, and hand-dig within 18 inches of any marked line to avoid accidental strikes.
Clearing the Fence Line and Assessing the Ground
With boundaries confirmed and utilities marked, the physical work begins. Site preparation involves clearing a path wide enough to work comfortably and keep the fence clear of vegetation that can cause rot or rust. This stage also reveals the ground conditions that will determine your post-hole strategy.
Debris Removal and Vegetation Management
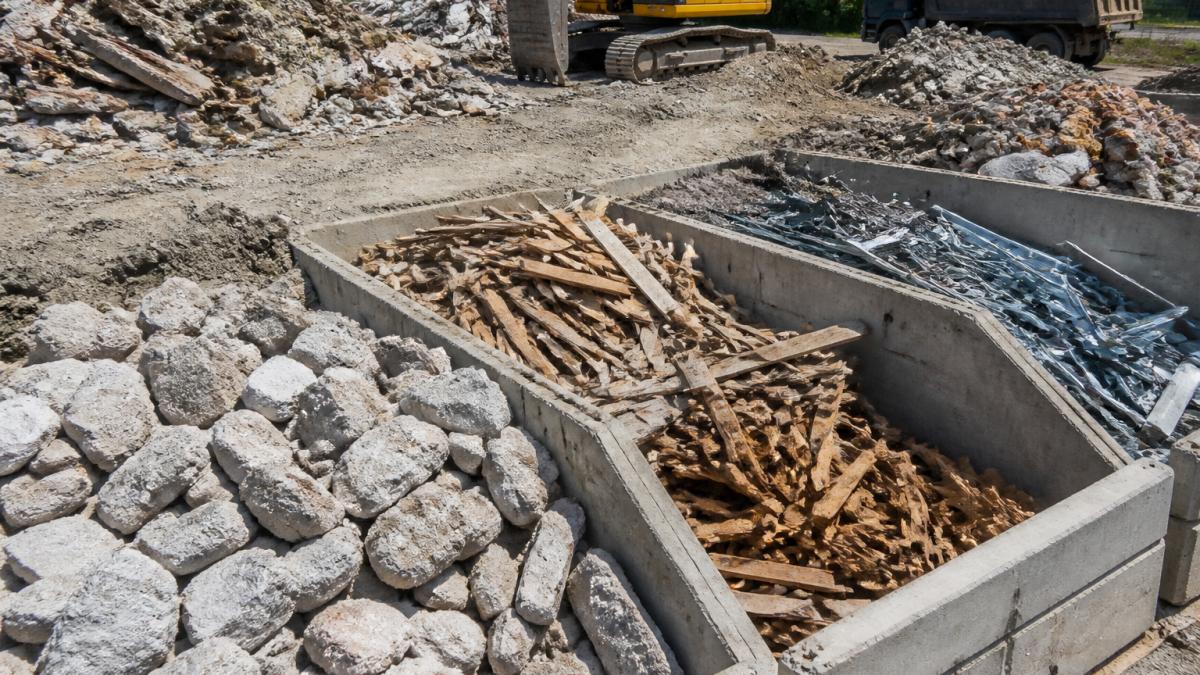
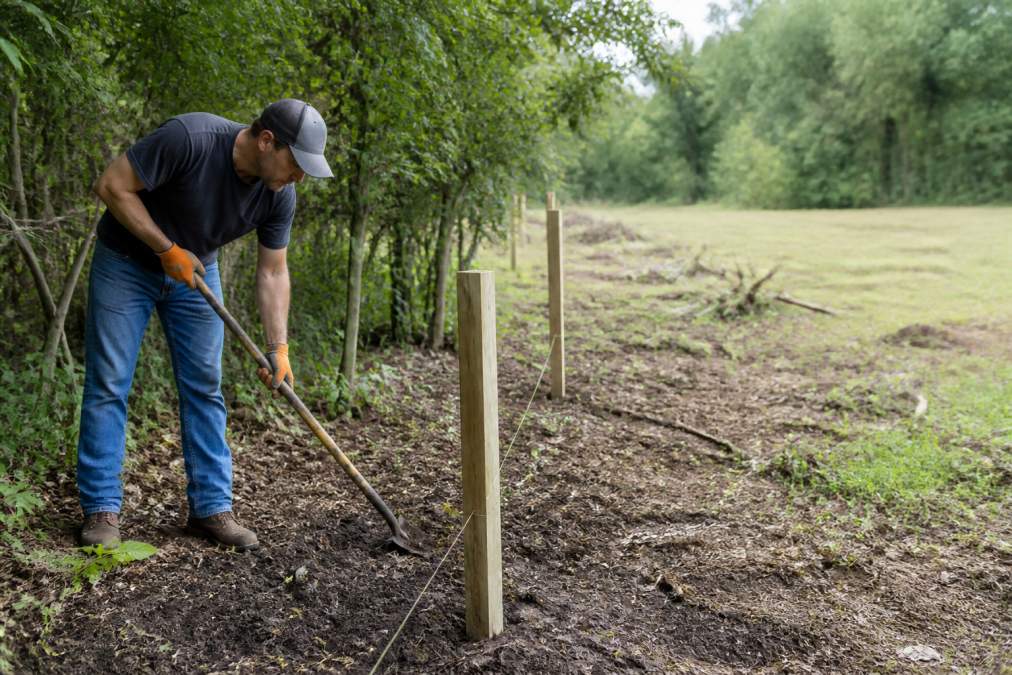
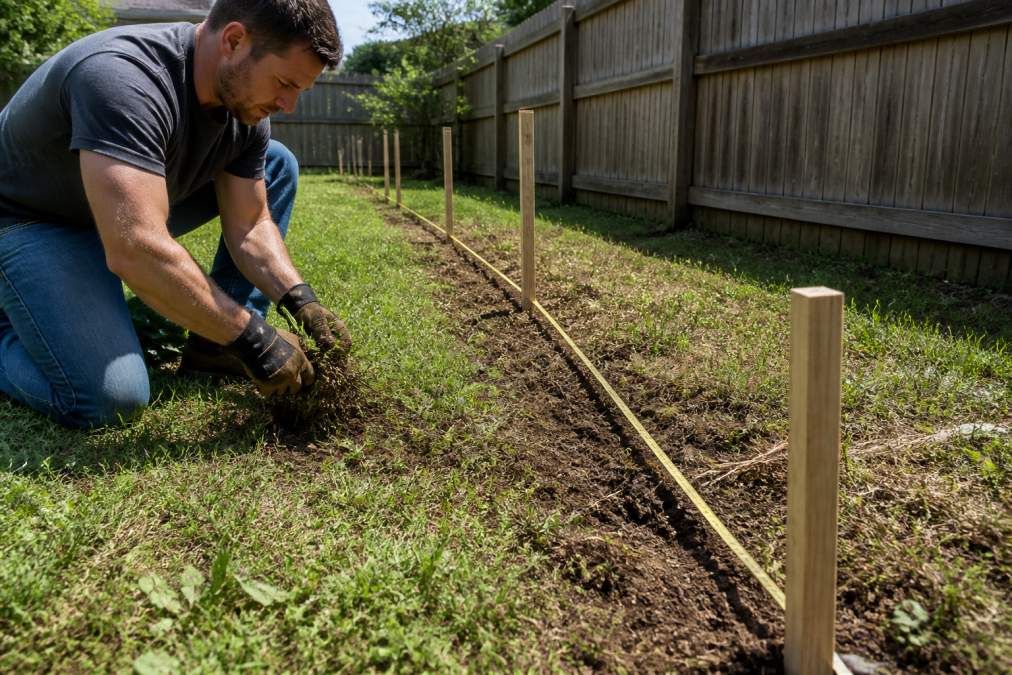
Start by removing debris, rocks, and broken fence sections. Then cut back grass, pull weeds, and remove shrubs or small trees in the path, roots can shift posts over time. Clear a corridor roughly two feet wide, and remove buried debris like old concrete footings or construction waste that could block post holes.
Evaluating Slope and Drainage Patterns
Walk the fence line and note changes in elevation. For slopes, you have two options: stepped fencing, where each panel follows the contour, or racked fencing, which angles panels to follow the slope continuously. Stepped fencing is often easier for DIY installation. Observe drainage patterns, low spots where water pools indicate poor soil stability and require extra attention when setting posts.
Fence Post Hole Depth Requirements and Soil Stability
Fence post hole depth requirements depend on the height of the fence and the type of soil you are digging into. A general rule is to bury at least one-third of the total post length, with the hole being three times the width of the post. For a typical 6-foot privacy fence, this means posts should be set in holes roughly 24 to 30 inches deep.
Soil stability is the factor most guides ignore. Sandy or loose soil will not hold a post as securely as dense clay. Before you dig, test your soil by squeezing a handful of moist dirt. If it crumbles easily, you have sandy soil that may require wider holes and more concrete to anchor the posts. For problem areas, a concrete footing is the standard solution. The concrete should be mixed to a stiff consistency and poured to just below grade, then sloped away from the post to shed water.
How to Fix Backyard Muddy Spots Before Fencing
A muddy fence line is a recipe for sinking posts and a sagging gate. Fixing backyard muddy spots starts with correcting drainage before you set a single post, water pooling against a post rots wood, corrodes metal, and softens the soil that holds it in place.
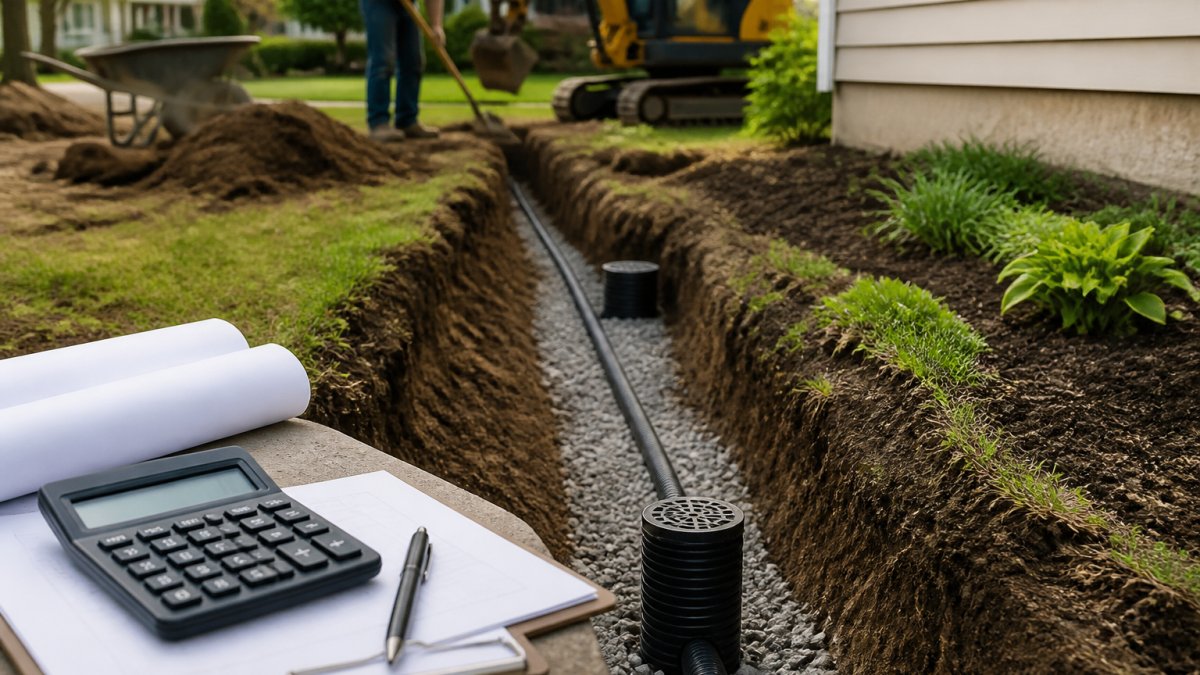
The most effective fix is re-grading so water flows away from the fence line: add fill dirt to raise low spots and create a gentle slope toward an existing drainage swale or yard drain. For persistent problems, consider a French drain. This task requires heavy equipment and an understanding of local drainage patterns; a professional land grading service can perform the necessary earthwork. For homeowners in areas with heavy seasonal rain, addressing muddy spots before installation is not optional.
Plan Your Gate Placement and Material Logistics
Gate placement is a decision that affects both function and layout. Before finalizing the fence line, mark where gates will go and verify the gate swing clearance. A gate needs enough room to open fully without hitting shrubs, structures, or uneven ground. For double gates, ensure the center point is level so the gates meet flush.
Material logistics are the overlooked step that stalls many projects. Fence panels, posts, and concrete are heavy. Determine where the delivery truck can access your property and whether a forklift can reach the drop zone. If you are working on a large lot with limited access, you may need to hand-carry materials to the fence line. Plan a staging area that is level, dry, and close to the work site to minimize the distance you haul each panel.
DIY vs. Professional Site Preparation
The decision between DIY and professional site preparation comes down to the scope of the work and the condition of your land. A straightforward project on level, clear ground with easy access is a viable weekend project for a skilled homeowner: verify property lines, call 811, clear the line, and dig straight holes.
However, most residential lots are not that simple. Sloped terrain, rocky soil, drainage issues, and buried debris all complicate the job. A common mistake is underestimating the difficulty of digging holes in compacted or rocky ground, which can take hours per hole and require specialized equipment. For projects involving significant grading, drainage correction, or land clearing, professional help is often the more reliable path. A professional land leveling and site preparation contractor brings the equipment and experience to handle excavation, soil stability issues, and post-installation restoration in a fraction of the time. Guidance on soil compaction and its effects on construction stability from the USDA Natural Resources Conservation Service highlights how proper site assessment prevents long-term structural issues.
What a Homeowner Can Safely Handle
A homeowner with basic tools and moderate physical fitness can handle the following tasks without risking injury or liability:
- Utility marking and permit applications, Both are phone calls and paperwork. There is no physical risk, and the legal requirement to call 811 applies regardless of who does the digging.
- Light brush clearing and debris removal, Pulling weeds, cutting grass, and removing surface rocks along a two-foot corridor is safe manual labor. Stop if you encounter buried concrete, large roots, or construction debris, these indicate conditions that may require heavier equipment.
- Staking the fence perimeter, Marking corners and gate locations with wooden stakes and string is straightforward and gives you a visual reference for the entire project.
- Hand-digging post holes in soft, level soil, If your soil test shows loamy or sandy ground with no rocks, a manual post-hole digger or a rented one-person auger can handle the job. Budget roughly 15 to 20 minutes per hole in ideal conditions.
When to Call a Professional
Certain conditions cross the line from DIY-friendly to contractor territory. Recognize these signs before you start:
- Rocky or compacted soil, If your test hole hits rock within the first 12 inches, you need a powered auger or a skid-steer with an auger attachment. Renting this equipment costs more than hiring a contractor who already owns it, and operating it safely requires experience.
- Slopes greater than 10 percent, A fence line that drops more than a foot over a 10-foot run requires stepped or racked panels and precise post-height calculations. Mistakes here are visible from the street and difficult to correct.
- Drainage problems, If your water test shows poor drainage or you have standing water after rain, you need grading work before the fence goes in. This is not a DIY task, it requires understanding the natural drainage patterns of your property and the surrounding lots.
- Underground utilities near the fence line, Even after 811 marks the lines, hand-digging within 18 inches of a marked utility is slow and risky. A contractor with a vacuum excavator can safely expose buried lines without damaging them.
Post-Installation Site Restoration: The Step Everyone Forgets
Every fencing guide tells you how to prepare the land before installation. Almost none tell you how to restore it after. Heavy machinery, foot traffic, and excavated soil leave your yard looking like a construction site. Post-installation restoration is a distinct phase that affects your property's appearance, drainage, and long-term health.
The restoration process has four components:
- Soil replacement and grading, Excavated soil is often a mix of subsoil and topsoil that compacts unevenly. Replace the top 4 to 6 inches with fresh topsoil and grade to match the surrounding lawn, preventing low spots where water pools and kills grass.
- Seed or sod installation, The fence line corridor is typically bare after construction. Spread a grass seed blend that matches your existing lawn, or lay sod for instant coverage. Late summer or early fall is the optimal time for seeding in most of the country, as the soil is warm and autumn rains help germination.
- Erosion control on slopes, If your fence line runs across a slope, bare soil will erode with the first heavy rain. Install erosion control blankets (biodegradable mats of straw or coconut fiber) over the disturbed area and secure them with landscape staples to hold soil while grass establishes.
- Debris and equipment damage repair, Heavy machinery leaves ruts in lawns, especially after rain. Fill ruts with topsoil, compact them lightly, and reseed. Inspect the entire work area for oil spills, broken sprinkler heads, and damaged irrigation lines before you consider the project complete.
| Task | DIY Difficulty | Professional Benefit |
|---|---|---|
| Utility Marking & Permits | Easy (calls only) | Handles compliance |
| Clearing Light Brush | Moderate | Fast, complete clearing |
| Digging Post Holes | Hard in rocky soil | Powered excavation |
| Slope & Drainage Fixes | Very Hard | Precision grading |
| Post-Installation Restoration | Time-consuming | Full site cleanup, grading, and reseeding |
Conclusion: Set Up a Smooth Fence Installation
Proper preparation is the difference between a fence that lasts decades and one that fails within a few seasons. From verifying boundary lines and calling 811 to addressing drainage and soil stability, each step protects your investment. The physical work of clearing, grading, and excavation is where most DIY projects stall, particularly on lots with slope or drainage problems.
At OCAS Residential, we handle the entire process from start to finish, offering professional land leveling, precision grading, and complete site cleanup with debris hauling. Our team ensures effective drainage solutions and proper landscape preparation before installing your custom fence and gate for secure residential fencing. We restore your property after the work is done, leaving it clean and ready for use. If you are facing a challenging fence line with mud, slope, or heavy vegetation, OCAS Residential land preparation and fencing services can provide a complete solution. Schedule a free estimate and let us prepare your land correctly the first time.
Frequently Asked Questions
Is 2 feet deep enough for fence posts?
For most residential fences, 2 feet is the minimum depth, but it is often not enough. Fence post hole depth requirements usually call for burying one-third of the post's total length. A standard 6-foot fence post should sit in a hole 2.5 to 3 feet deep. In colder climates, holes must extend below the frost line. Soil type also matters; sandy or loose soil may require deeper holes and concrete footings to keep the post stable.
Do I need to clear vegetation before installing a fence?
Yes, clearing vegetation is a critical step. Grass, roots, and brush left along the fence line will rot your fence materials and create uneven ground for post installation. Clear a strip at least 1 to 2 feet wider than your fence panels on both sides. Remove any trees or large shrubs whose roots could interfere with digging. This also gives you a clear view of the terrain, which helps you plan for slope issues or drainage problems.
How do I mark my property lines for a new fence?
Start by hiring a licensed land surveyor to locate your property corners and boundary lines. Do not rely on old stakes or your neighbor's fence, as they are often inaccurate. Once the survey is complete, mark the corners with wooden stakes and run a string line between them to visualize the fence path. This string line is your guide for clearing and digging. Always keep the fence inside your property line to avoid encroachment disputes.
What should I do about muddy spots along the fence line?
Muddy soil is unstable and will cause fence posts to shift. To fix backyard muddy spots, first improve drainage by regrading the area so water flows away from the fence line. You may need to install a French drain or a dry well in severe cases. After the ground is dry and level, compact the soil before digging post holes. Consider using gravel backfill instead of dirt around posts to improve drainage and stability.