 how-to
How to Level a Small Yard for Landscaping
Table of Contents
- Assess Your Yard Before Leveling
- Yard Leveling Tools You'll Need
- Choose the Right Fill Material for Your Soil
- How to Fix Low Spots in a Yard
- How to Level Soil Before Laying a Lawn
- Yard Grading for Drainage and Water Management
- Common Mistakes to Avoid When Leveling a Small Yard
- When to DIY and When to Hire a Professional
- Frequently Asked Questions
Last Updated: October 12, 2026
Assess Your Yard Before Leveling
Before you level a small yard, understand what you're working with. Skipping this leads to wasted material, poor drainage, and landscaping that fails within a season.
Identify low and high spots by walking your yard after rain and noting where water collects.
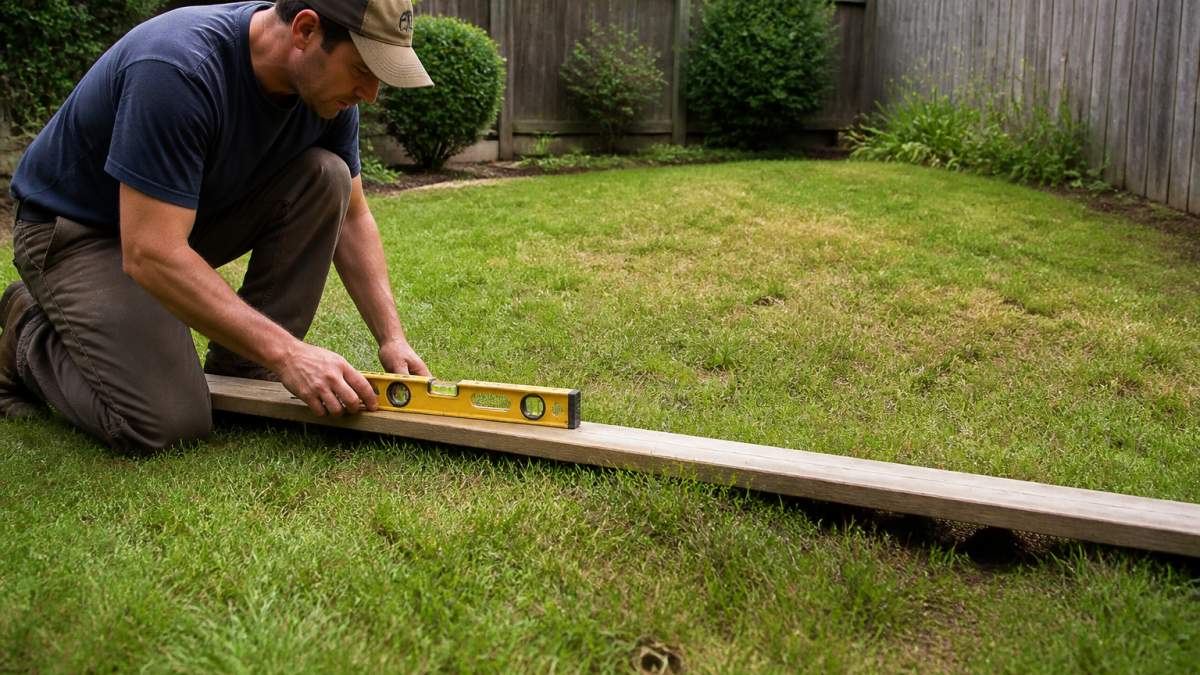
Measure uneven areas systematically: mark a grid with string and stakes, then measure height at each intersection using the 2x4 and level method.
Note drainage patterns: where water flows, whether it runs toward your foundation, and where it pools.
Yard Leveling Tools You'll Need
Leveling a small yard doesn't require heavy equipment. A shovel, rake, wheelbarrow, and straight board (ideally 2x4 or 2x6 lumber) do most of the work.
A spirit level keeps your 2x4 horizontal, a tape measure tracks depth, and gloves protect your hands. For larger yards or compacted soil, a tamper helps settle material, though foot traffic and watering often suffice on small areas.
Rent a power rake only for severe compaction or thick thatch, it loosens the surface, improving drainage and grass establishment. For most small-yard projects, hand tools give better control.
Choose the Right Fill Material for Your Soil
Your soil type determines the best fill material, but first you need to know how much. Small yards punish over-ordering: an extra cubic yard is a pile you move twice, while a short order means a second delivery fee and a stalled project.
Measure the Area First
Break the yard into simple shapes: a rectangle is length times width, an L-shape is two rectangles added, and a curved bed can be approximated as a rectangle rounded down slightly. Write each zone's square footage down.
For a typical small yard, you might have a 20-by-30-foot lawn (600 square feet) plus a 4-by-12-foot planting strip (48 square feet), for roughly 650 square feet of total area to address.
Estimate Average Fill Depth
Depth is where most DIYers guess wrong. Use your grid measurements: if low spots are 1 inch deep in places and 2 inches in one corner, the average is far less than the deepest spot, commonly 1/2 to 1 inch overall, with a few deeper pockets.
Calculate Cubic Yards
The formula is: square feet × average depth in feet ÷ 27 = cubic yards.
- 650 square feet × 0.083 feet (1 inch) ÷ 27 ≈ 2 cubic yards
- 650 square feet × 0.042 feet (1/2 inch) ÷ 27 ≈ 1 cubic yard
Add 10 to 15 percent for settling and spillage. For the 1-inch example, order about 2.25 cubic yards. Bagged material is sold by cubic feet: 1 cubic yard equals 27 cubic feet, so 2 cubic yards is 54 cubic feet, or roughly 27 two-cubic-foot bags. Bulk delivery is almost always cheaper per yard than bags once you pass about 1 cubic yard.
Match Material to Soil Type and Use
Sand moves water quickly and resists compaction, making it a useful base layer in clay-heavy yards.
Topsoil contains organic matter and supports seed and sod, making it the right top layer wherever grass or plants grow.
Soil-sand blends (leveling mix or lawn mix) combine sand's drainage with topsoil's fertility, commonly about 60 percent topsoil to 40 percent sand, though bagged blends vary.
Compost-heavy mixes are excellent for planting beds and vegetable gardens but too soft for lawns or paths, they settle unevenly and stay spongy.
Quick Soil Test
Dig a handful from a low spot about 6 inches down, wet it, and squeeze. Clay feels sticky and holds a ribbon; sand feels gritty and falls apart; loam feels like a damp sponge. Clay benefits from a sand-forward blend, sandy soil from screened topsoil, and loam usually needs only topsoil.
Order 10 to 15 percent more than your calculation suggests. Running short mid-project means a second delivery fee, and leftover material can always go into planting beds or be stored under a tarp for future spot fixes.
How to Fix Low Spots in a Yard
Fixing low spots takes preparation, careful placement, and patience.
Preparing the lawn before leveling means removing debris and loosening compacted soil. Clear rocks, sticks, and dead grass; let standing water drain.
Filling low spots with thin layers is the key to success.
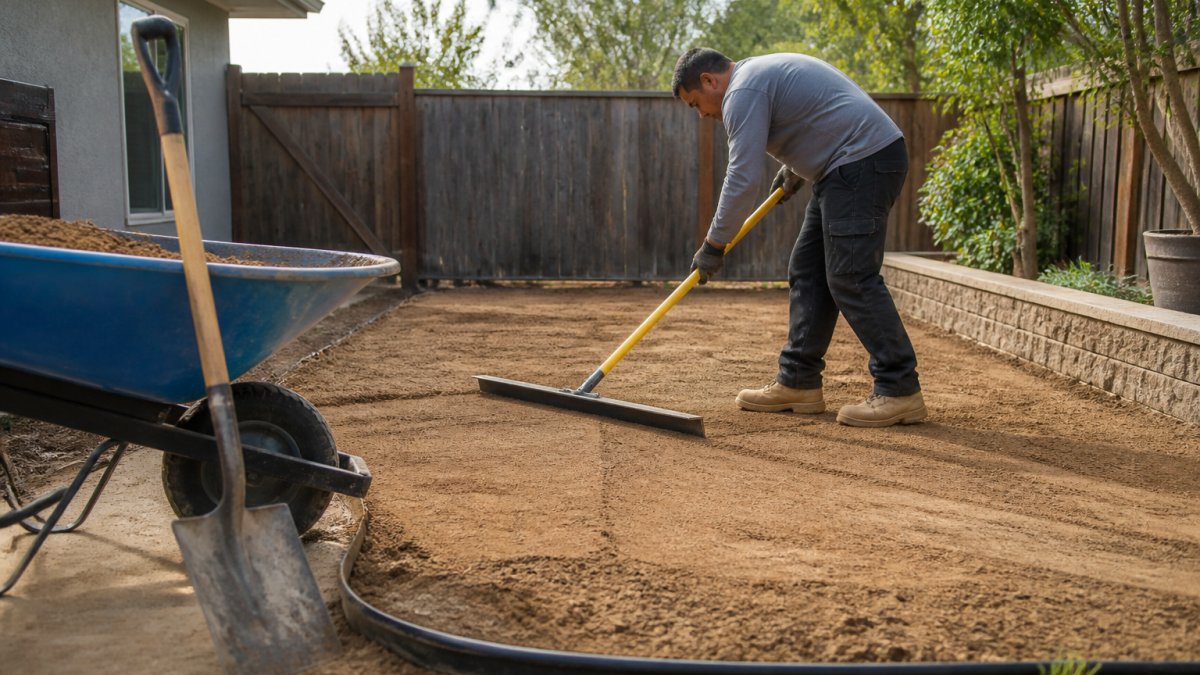
Spreading and raking leveling material requires attention to surrounding grades. Spread material slightly higher than the surrounding lawn, it will settle.
For small yards, this takes 2-4 weeks depending on layers and settling time. Rush it and you'll redo the work; take your time and results last years.
How to Level Soil Before Laying a Lawn
If you're starting fresh with new grass, leveling becomes more critical. The soil surface must be smooth and properly graded.
Using a straight board or 2x4 to check level is your primary quality control.
Compacting and settling material happens naturally with watering and foot traffic, but you can speed it up.
The final surface should be smooth enough that a rolling ball wouldn't drop into unexpected holes. Variations of 1/4 inch or less are normal; 1/2 inch or more means another settling cycle.
The difference between amateur and professional leveling is patience. Rushing the settling process means reworking the yard within a year. Spreading material in thin layers and allowing proper settling time produces results that last.
Yard Grading for Drainage and Water Management
Level doesn't mean flat. A properly graded yard slopes gently away from structures toward a safe discharge point, preventing water from pooling against the foundation and protecting it from moisture damage.
The Minimum Slope Rule
The guideline is a drop of about 6 inches over the first 10 feet from the foundation, then a gentler 1 inch per 10 feet beyond. The steeper first 10 feet matters most because water is likeliest to sit against the wall there.
A 2 percent slope (about 1/4 inch per foot) is the practical minimum for water to move reliably on soil. Anything flatter and surface tension, grass, and minor settling will hold water in place.
Determine Your Discharge Point
Before grading, decide where water should go. Options, in rough order of preference:
- A daylight slope, the yard naturally drains to a lower area, alley, or street.
- A swale, a shallow, vegetated depression that carries water along a property line to a safe outlet.
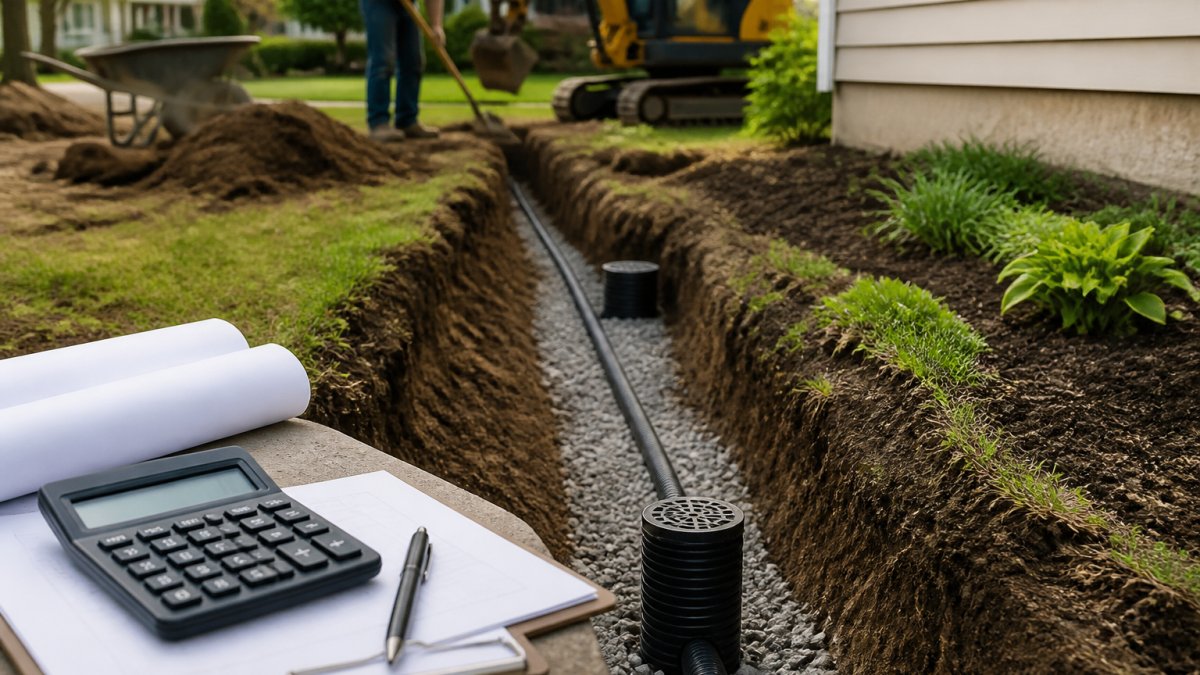
- A dry well or French drain, a gravel-filled pit or perforated pipe that collects and infiltrates water on site. Useful when there is no downhill outlet.
- A pop-up emitter, the terminus of a buried drain line, usually at the curb or a landscaped area.
For small yards, a swale along one side is often simplest. A swale 12 to 18 inches wide and 3 to 6 inches deep, graded to fall about 1 inch per 10 feet toward the outlet, moves surprising amounts of water without eating usable space.
Slope Away From the Foundation
Walk the perimeter and check the grade at the base of the wall. Soil should sit at least 6 inches below the top of the foundation or bottom of the siding and slope away, not toward, the wall.
Check with your 2x4 and level: place the board perpendicular to the wall, one end against the foundation, and lift the far end until the bubble centers. The gap under the far end is your slope over that distance. Repeat every 8 to 10 feet.
When the Yard Can't Drain to the Street
Many small yards are boxed in by fences, neighboring properties, or a higher slab. If gravity can't carry water off-site, you have three options:
- Infiltrate on site with a dry well sized to your roof and yard runoff. A common rule of thumb is 1 cubic foot of gravel storage per 1 square foot of roof area draining to it, though soil permeability changes the math.
- Capture and redirect with a buried drain line to a pop-up emitter at the lowest accessible point.
- Regrade to a rain garden, a planted depression that holds and slowly infiltrates water. Rain gardens work well in small yards because they double as landscaping.
Don't Fight the Slope You Have
If the yard already slopes in a workable direction, preserve it rather than flattening. The goal of leveling a small yard is to remove bumps and low spots, not erase the grade. A smooth, correctly pitched yard drains better and needs less fill than one forced flat.
Level the surface, keep the slope. The two goals are not in conflict, a smooth yard with a consistent 2 percent pitch away from the house is the target, not a perfectly flat plane.
Common Mistakes to Avoid When Leveling a Small Yard
The most common mistake is using one material type. Sand alone drains but won't support grass; topsoil alone compacts and traps water.
Another frequent error is filling too quickly. Thick layers settle unevenly and create new low spots; thin layers settle consistently.
Ignoring drainage during leveling creates problems after the first heavy rain. Always think about water movement while you work.
Overcompacting reduces drainage and hinders grass roots.
Underestimating material quantity wastes time and money. Calculate volume before starting. Ordering too little means extra trips and delays.
When to DIY and When to Hire a Professional
Leveling a small yard is manageable DIY if you have time, physical capability, and attention to detail. The work is straightforward but labor-intensive, budget 20-40 hours depending on unevenness.
Hire a professional for severe drainage issues, slopes needing careful grading, or compacted soil requiring equipment.
Consider professional help if you're unsure how water flows across your property or planning new construction or major landscaping.
For minor unevenness and good drainage, DIY works well. For drainage problems, large uneven areas, or major landscaping plans, professional expertise pays for itself in time saved and problems prevented.
Leveling a small yard for landscaping requires careful assessment, the right materials, and patience for settling. OCAS Residential offers professional land leveling and grading services that ensure proper drainage and prepare your yard for landscaping success.
Frequently Asked Questions
What's the best way to level your yard?
The best approach depends on your yard's condition and size. Start by identifying low and high spots using a straight board or 2x4. Remove grass from problem areas, add fill material in thin layers (no more than 1 to 2 inches at a time), compact each layer, and use a level to check progress. For small yards with minor unevenness, DIY filling works well. For extensive leveling or drainage issues, professional grading ensures proper slope and prevents future water pooling.
How do you check whether a small yard is level?
Use a straight 2x4 board and a standard level tool. Place the board across different areas of your yard and set the level on top. If the bubble centers, that section is level. Check multiple spots across the yard to identify high and low areas. For precise measurements, mark the depth of low spots with chalk or stakes, then measure the difference. This method works well for small yards and helps you calculate how much fill material you'll need.
How to level soil before laying a lawn?
Prepare the area by removing debris and existing grass if needed. Add topsoil or leveling mix in thin layers, spreading and raking each layer smooth. Compact lightly after each layer to prevent settling issues later. Use a 2x4 board and level to verify flatness as you work. Once the soil is level and firm, water it lightly to help it settle. Wait a few days before seeding or laying sod to allow the soil to compact naturally and avoid future dips.
What tools do you need to level a small yard?
Essential tools include a shovel or spade for digging and spreading, a landscape rake for smoothing material, a wheelbarrow for transporting fill, a straight 2x4 board, a standard level, and a measuring tape. For compacting material, a hand tamper or the back of a shovel works for small areas. Wear work gloves and safety glasses. For large yards or heavy clay soil, a power rake or small compactor saves time and effort, though these can be rented if you don't own them.